
Down-the-line
Address posture.
Address posture gives the club room to swing and the golfer a balanced starting point. Aim for a comfortable setup, not a rigid back shape or a pose copied from another player.
By Dwain Kinghorn · Updated
Down-the-line · Address, Takeaway, Top
Start with room for the arms and club.
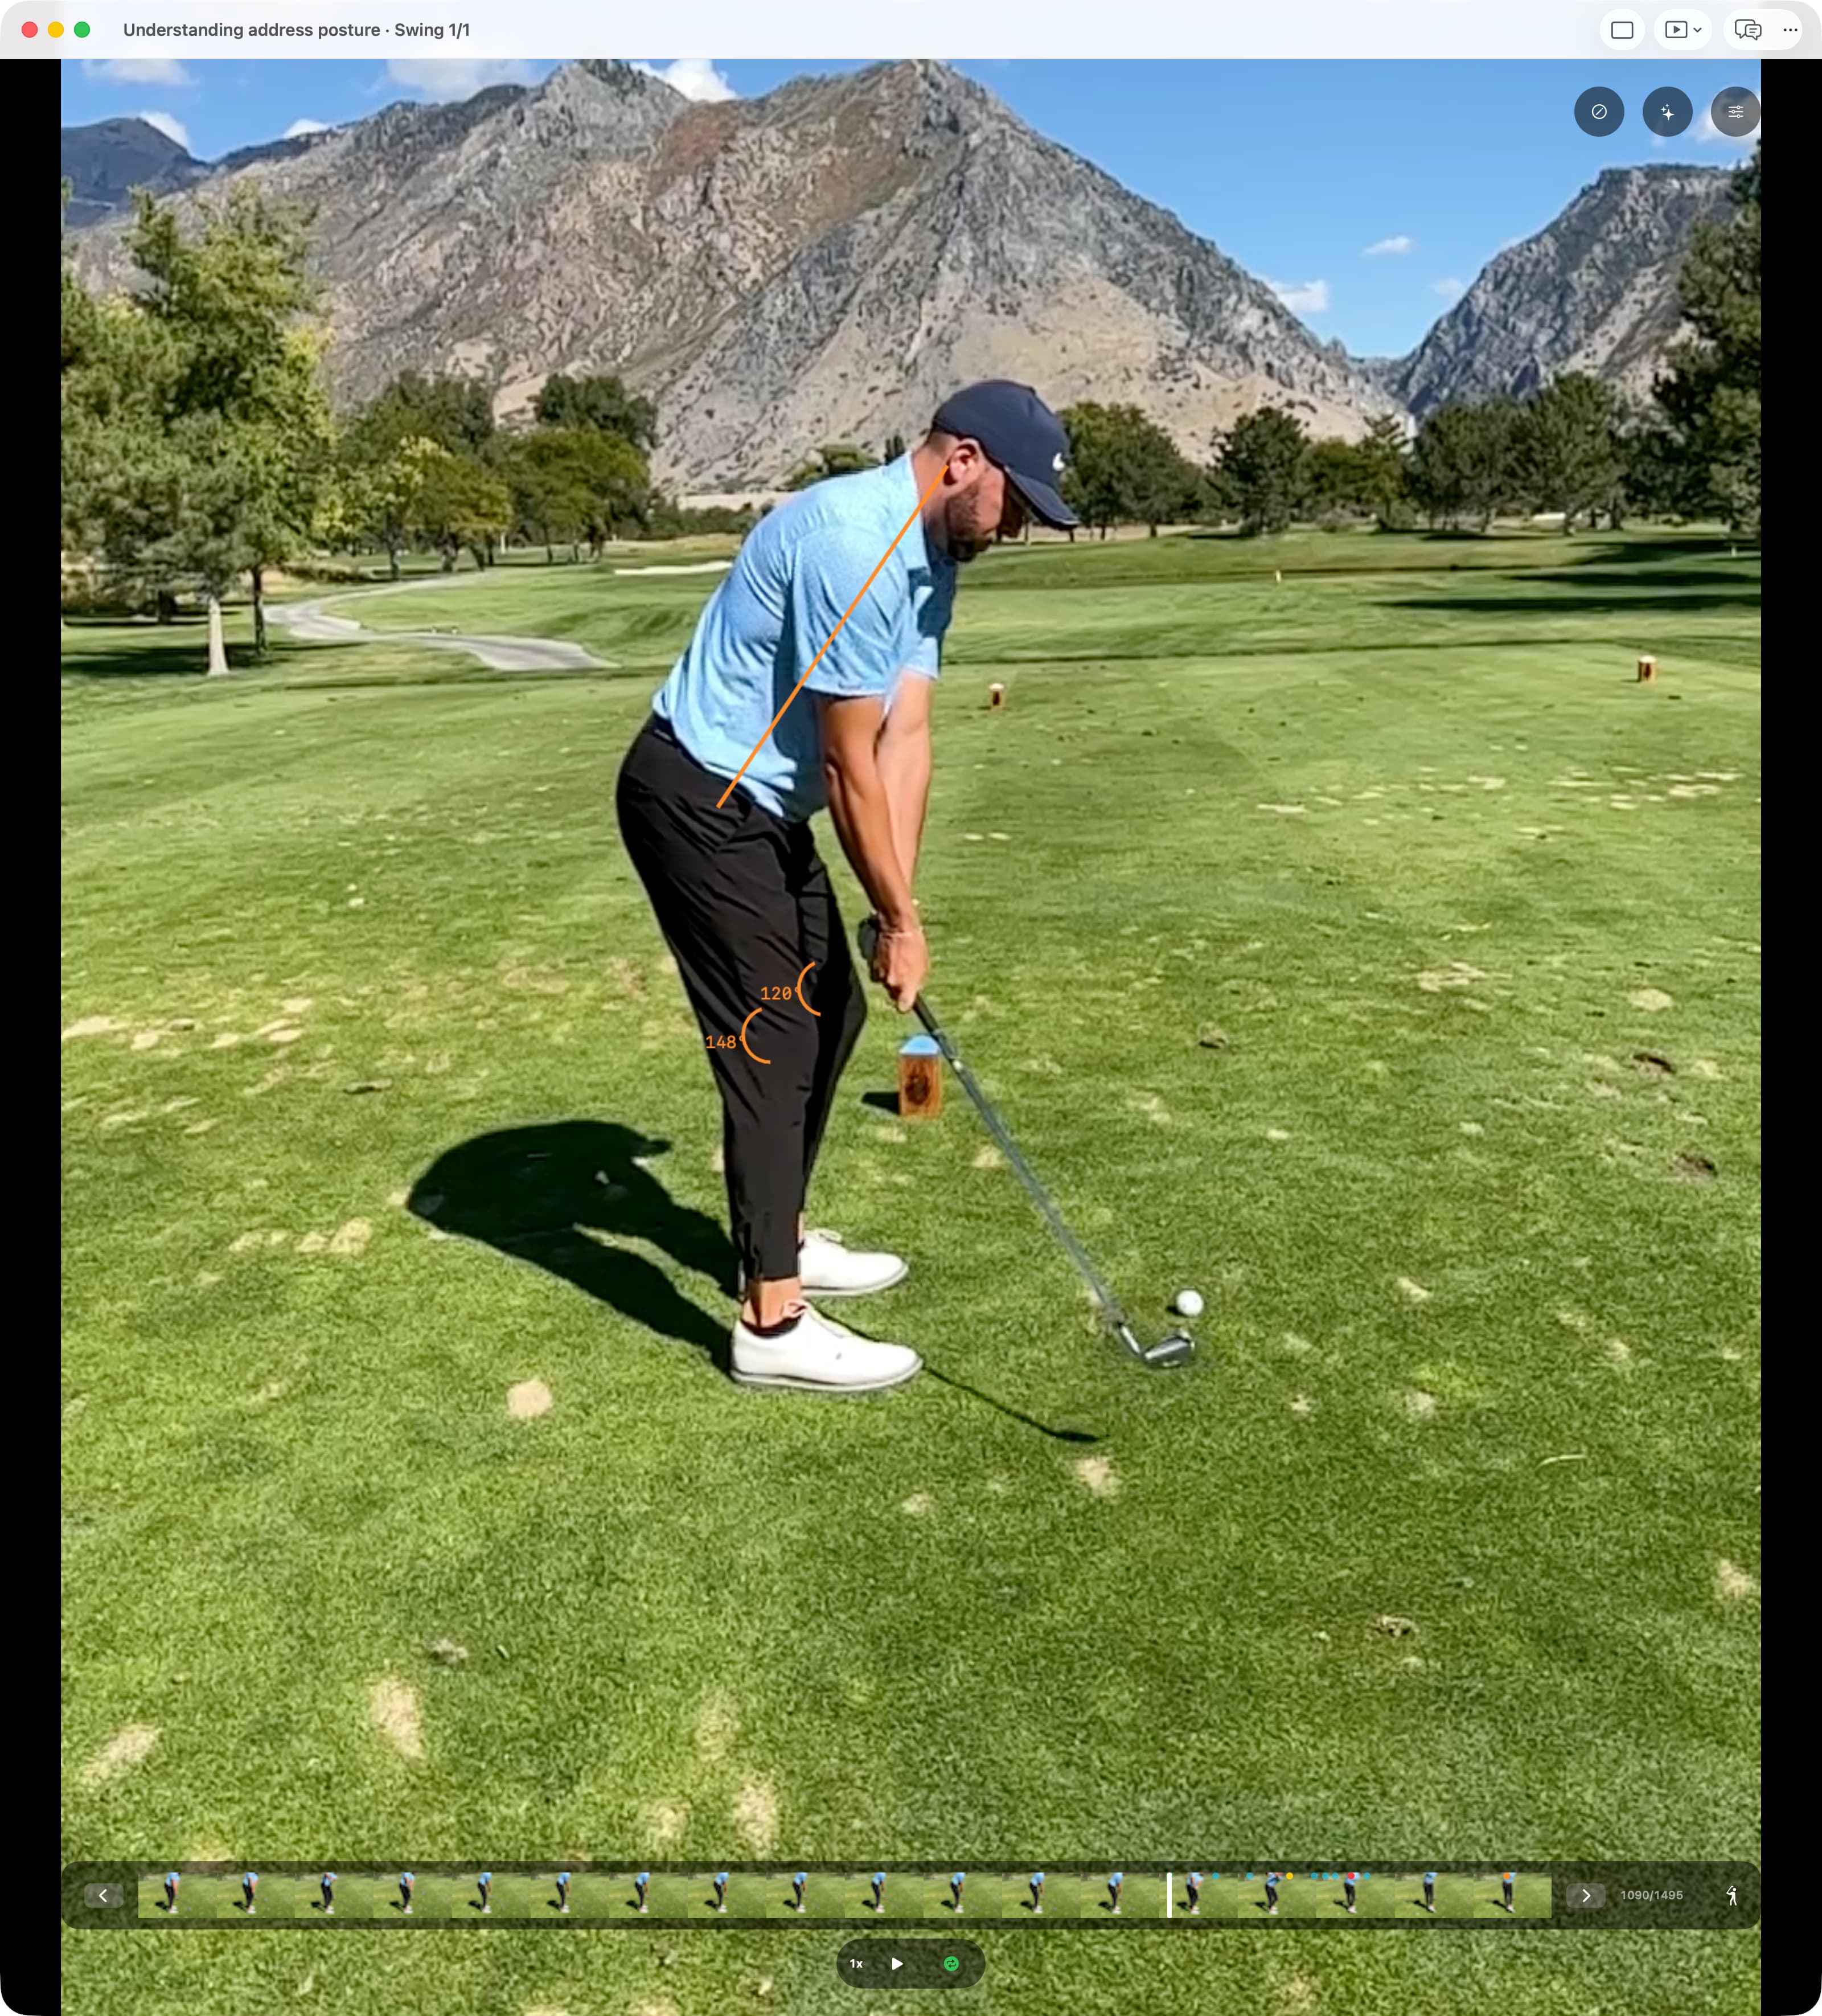
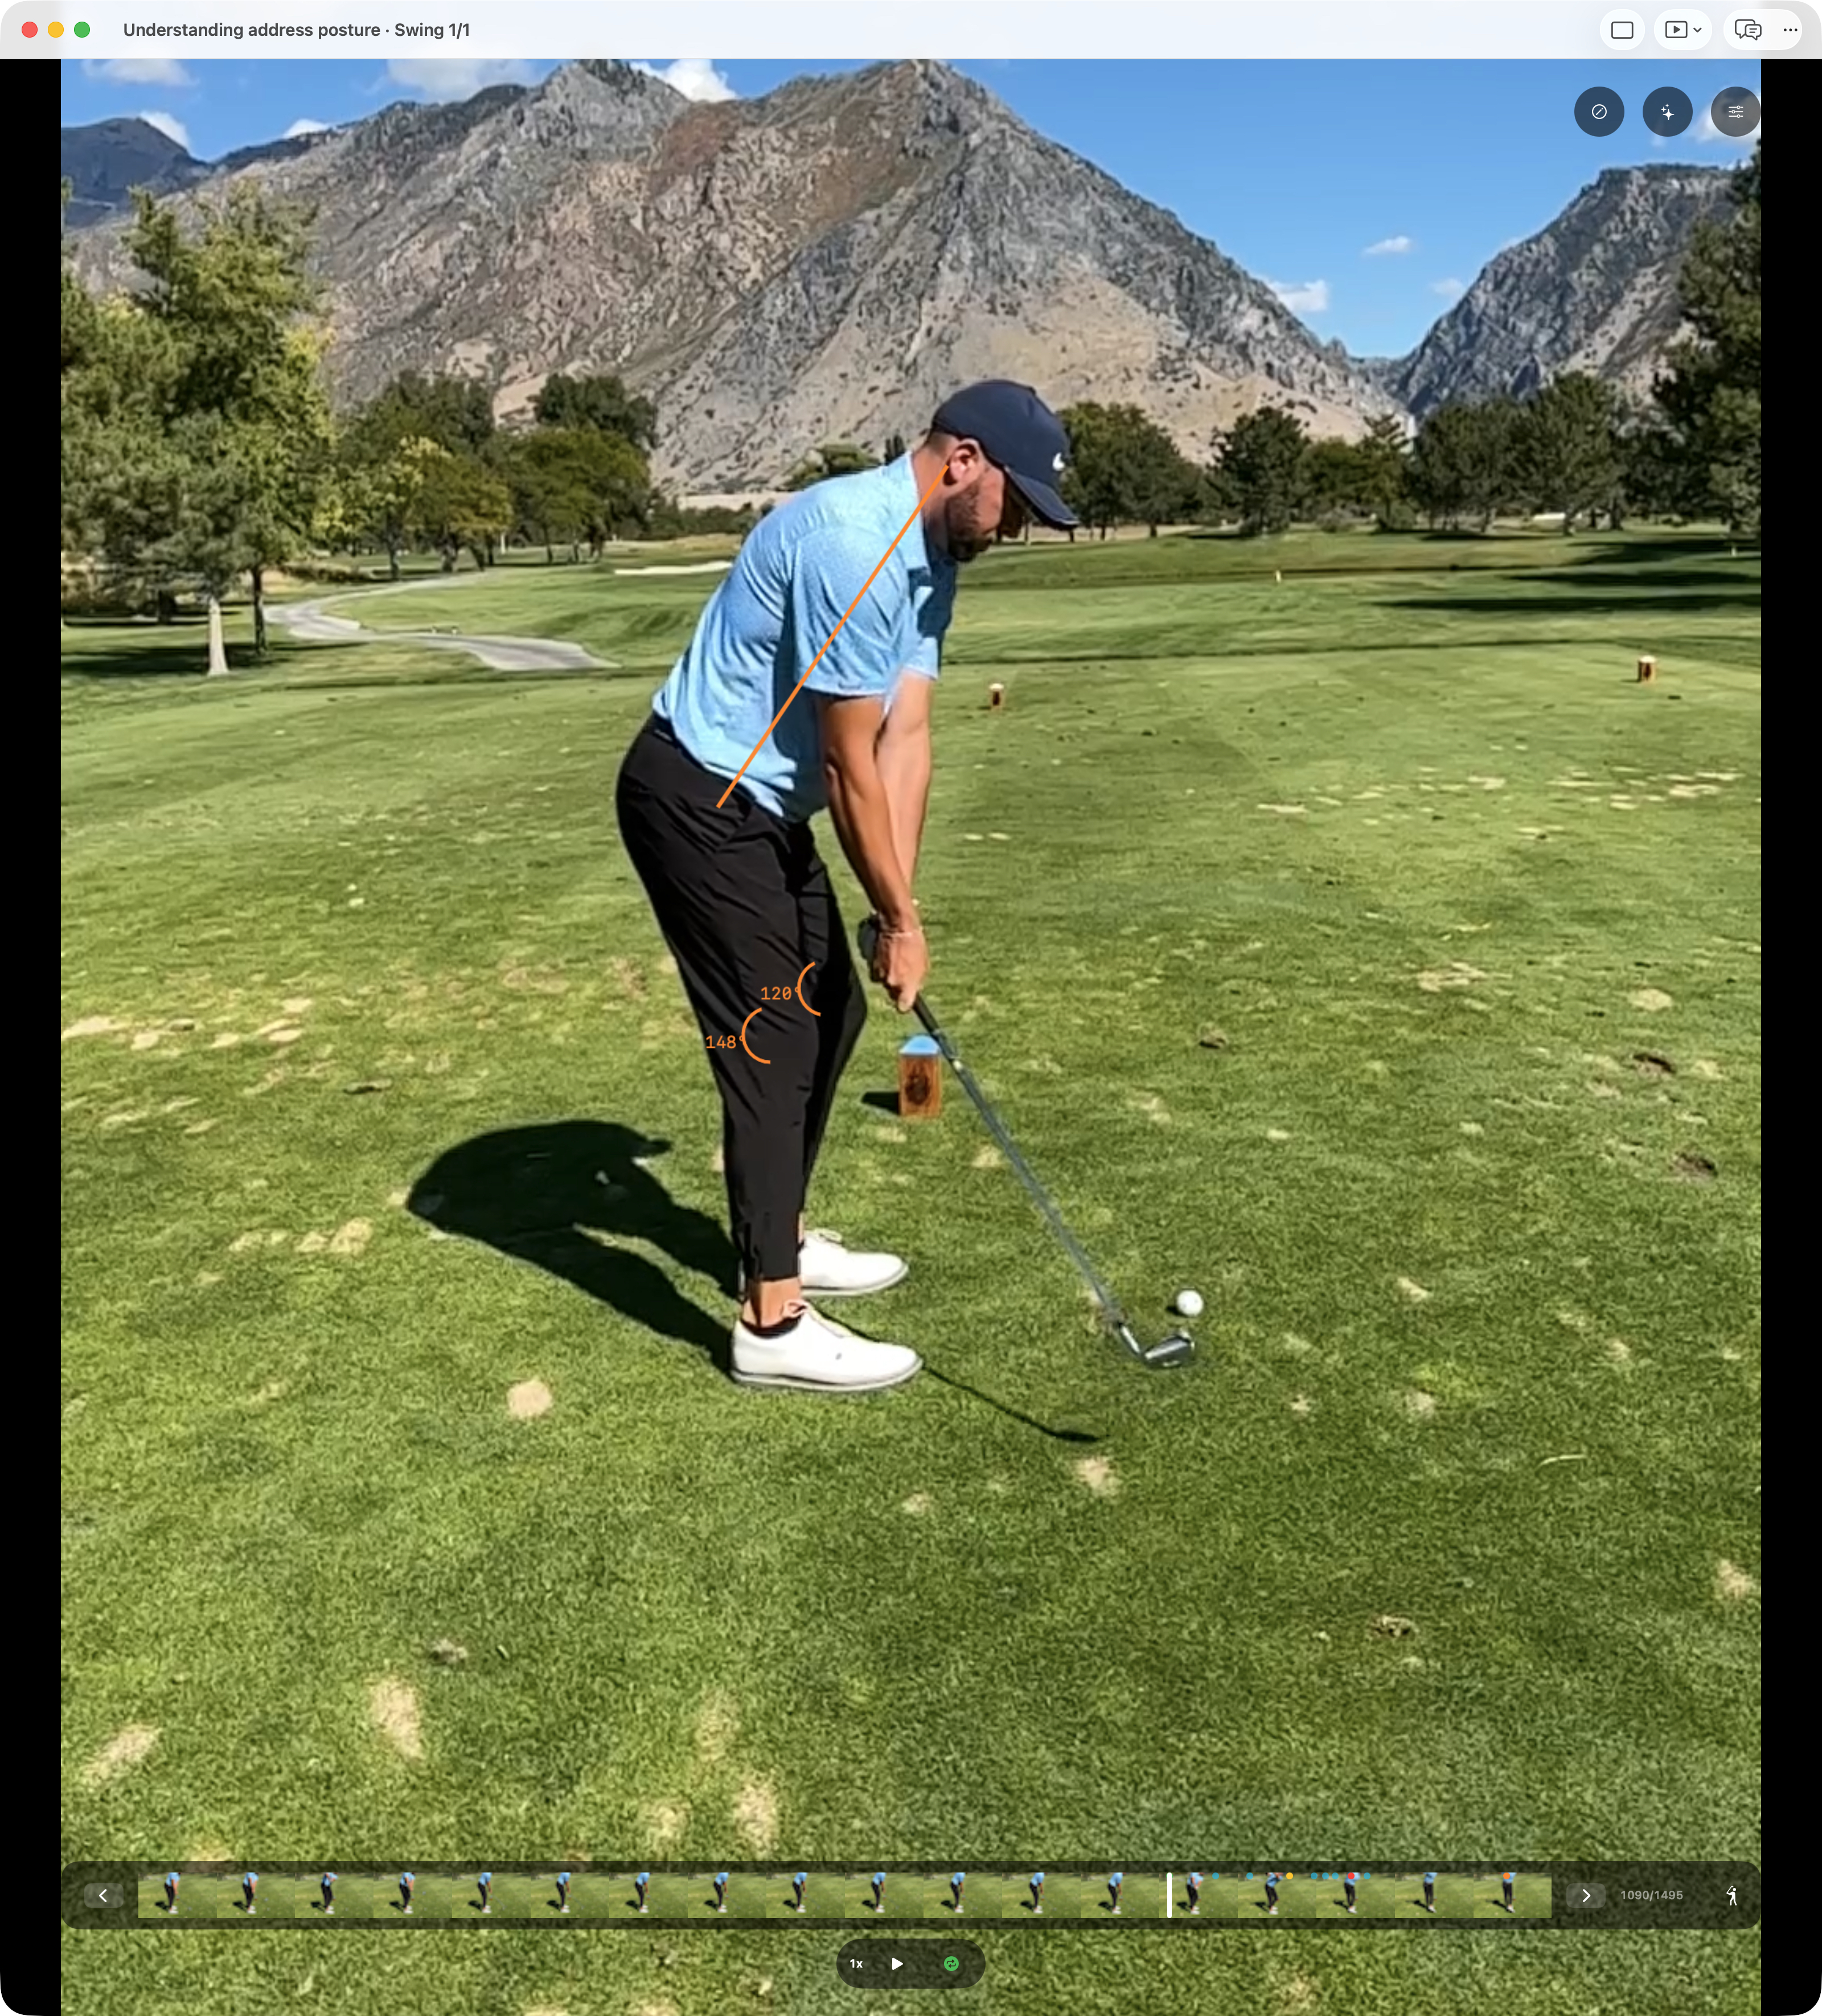
Read three relationships at Address: the forward bend of the torso, the soft bend in the knees, and the space in front of the body for the arms. The orange references make the first two visible.
At Address
How the starting shape changes
Swipe across the image to compare Address and Impact.
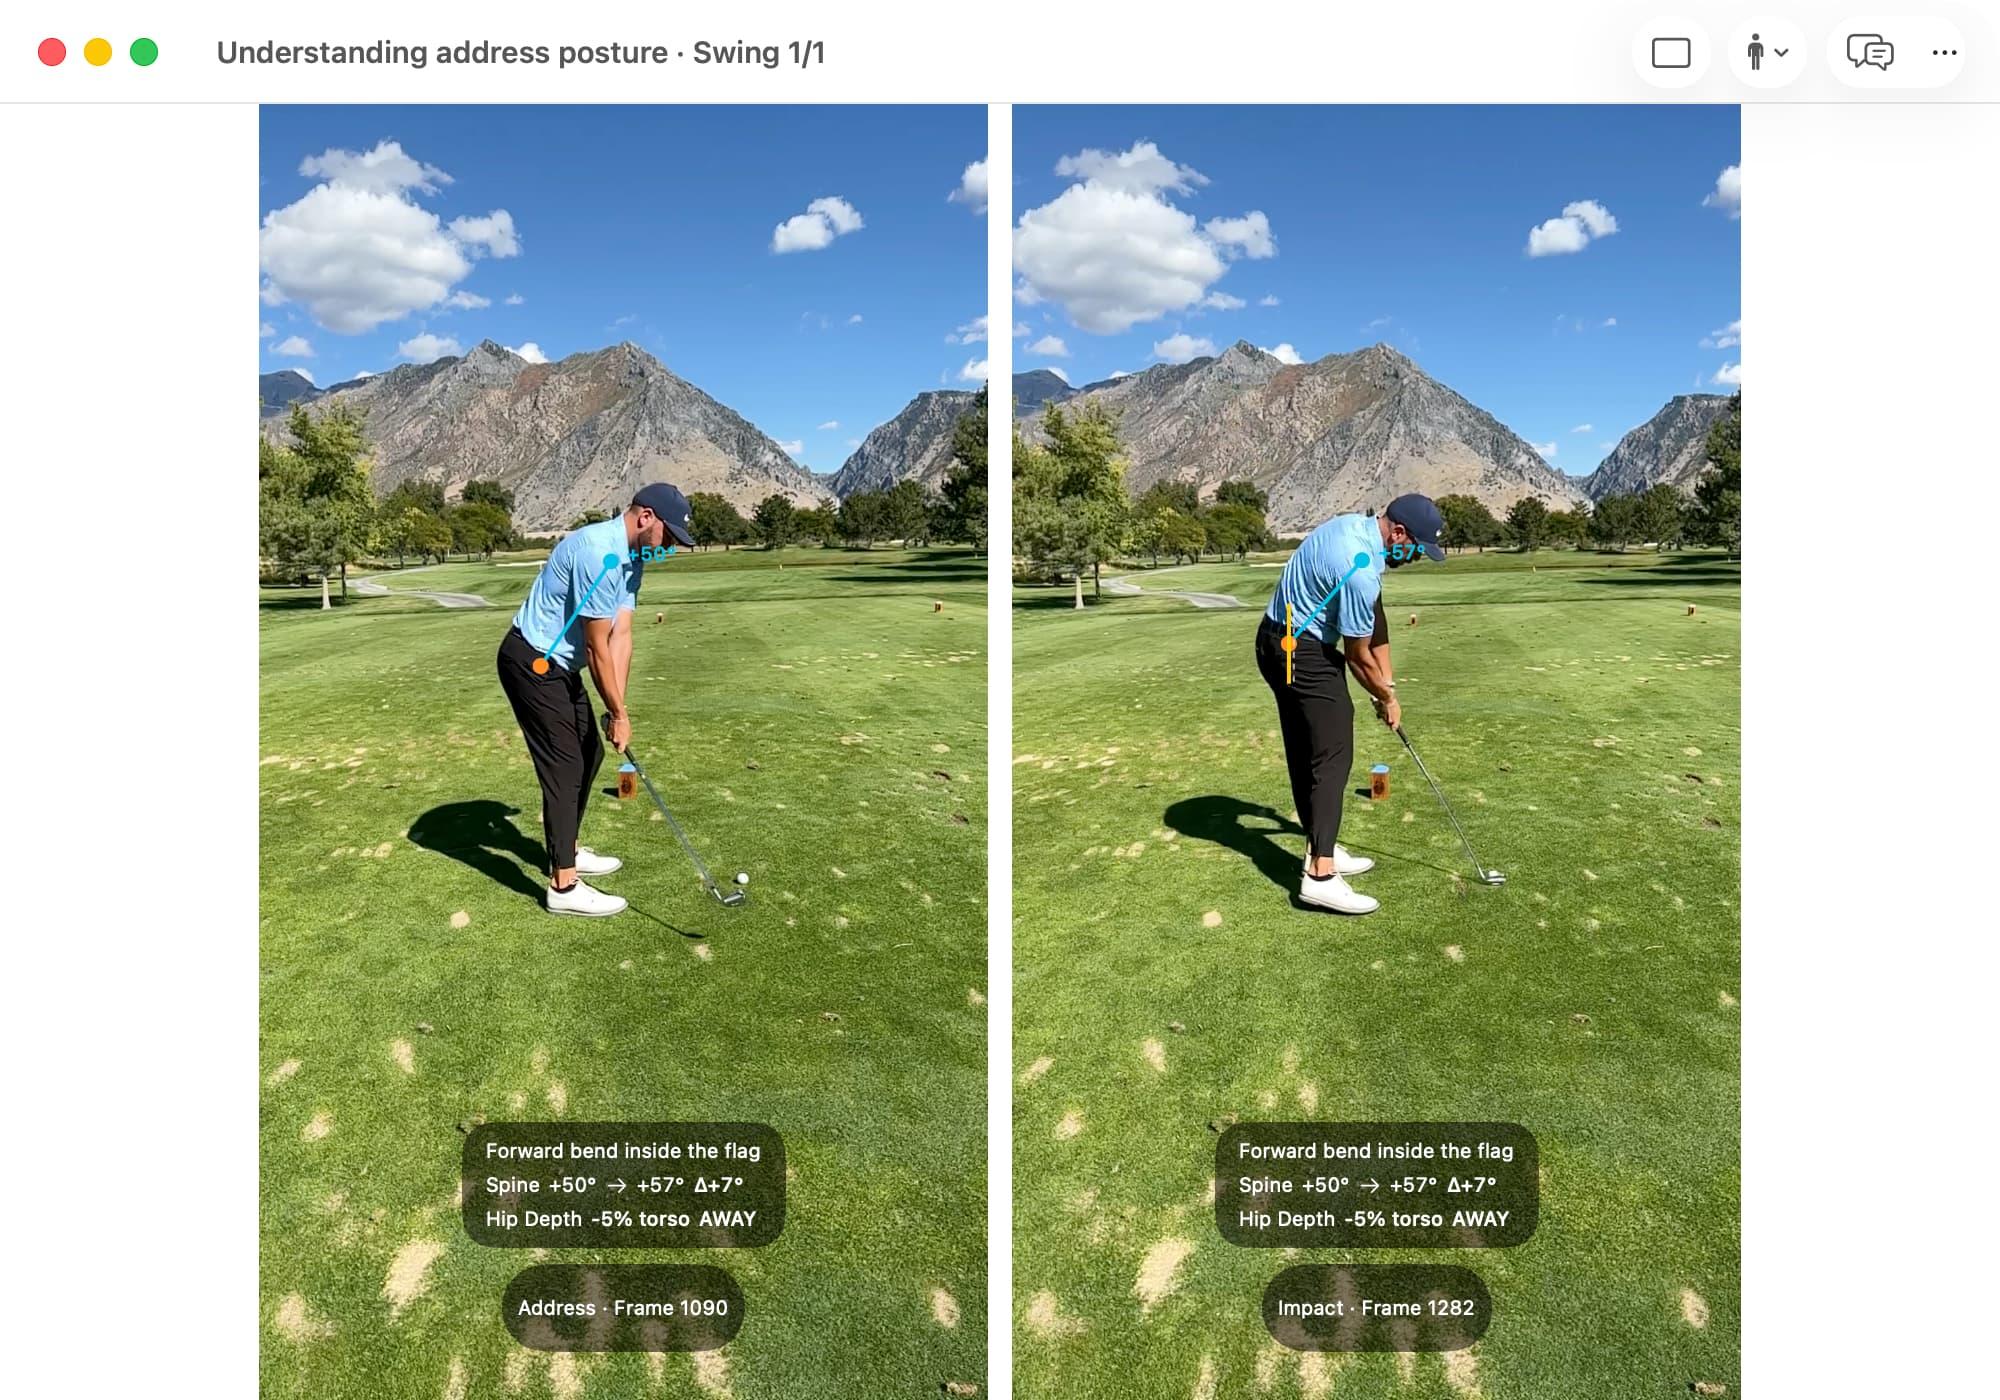
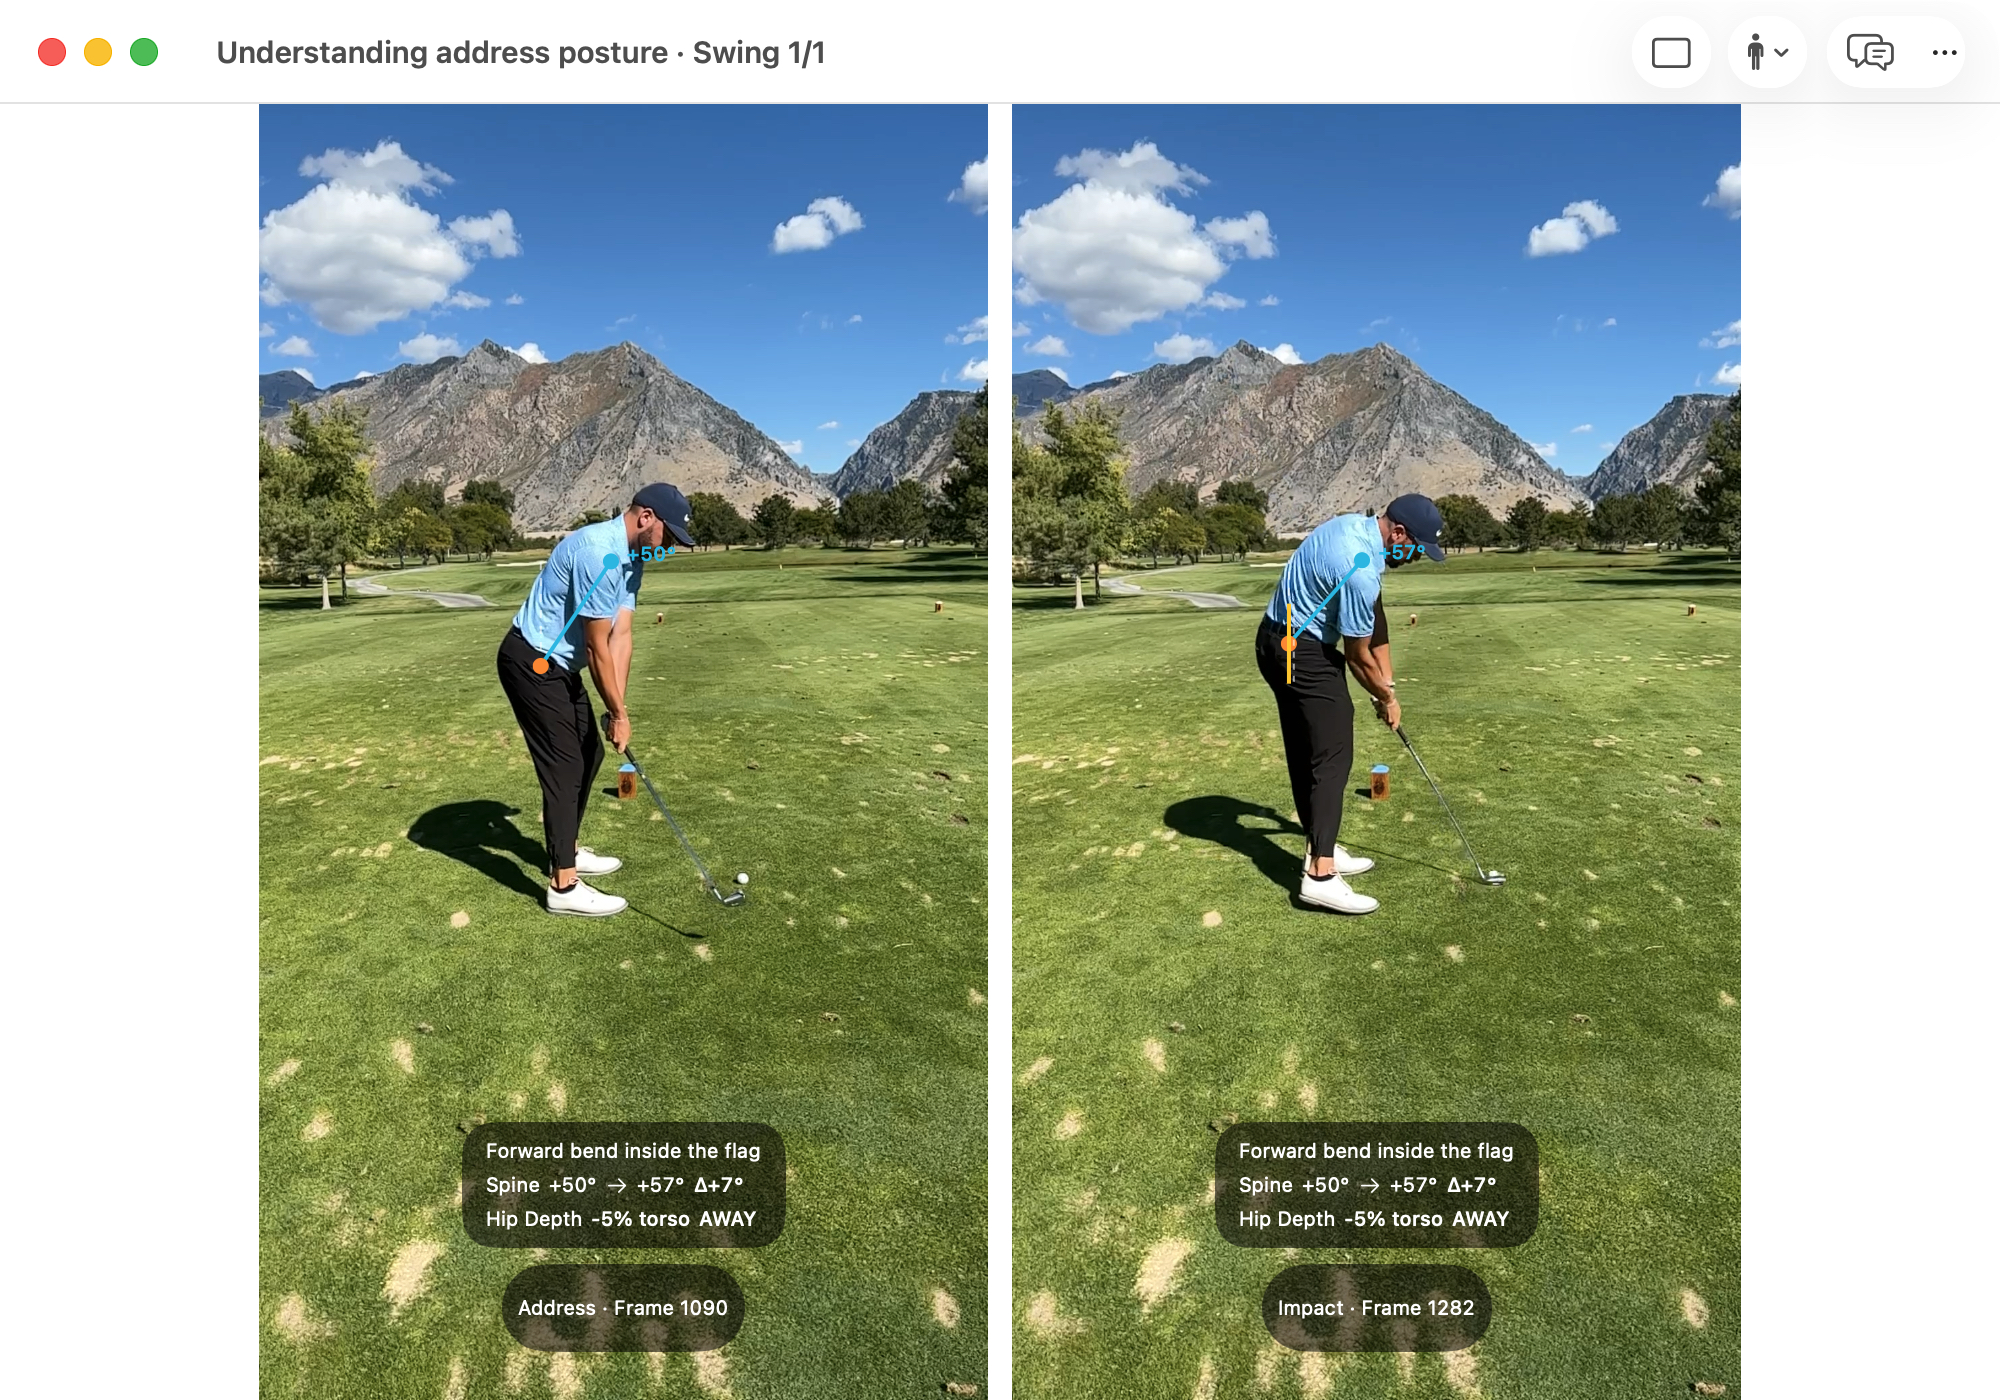
The setup leaves space for a small rehearsal swing without stretching for the ground. The comparison shows why that starting shape need not stay fixed: the body turns and changes orientation through the strike.
Try this view with your own swing
- Open the down-the-line view. Open a down-the-line recording in Video Player and select Address. Enable Setup Spine Angle Line and Setup Knee Flex Indicators in AI Overlays.
- Read the whole setup. Read the torso line and knee arcs alongside the space for the arms. Turn an overlay off if it obscures the relationship you want to examine.
- Watch the swing that follows. Choose Posture Check to compare Address with Impact, then replay the swing. Look for room to move rather than a frozen setup shape.
Understanding the idea.
At address, forward bend helps the club reach the ball while leaving room for the arms and a comfortable turn. The knees, hips, and spine all contribute to the setup. Too much reaching, squatting, or forced arching can make the swing harder to organize, but the exact appearance varies with the golfer and club.
A down-the-line recording shows the distance to the ball and the relationship between the arms, handle, and body. Look at the whole setup instead of grading the curve of the back in isolation. A face-on view adds information about ball position and how the stance is arranged along the target line.
How to read this pattern.
A perfectly straight spine is not required. Human backs have natural curves, and comfortable setups differ with body proportions and movement range. A little rounding is not automatically a fault, while an exaggerated chest-up arch is not automatically good posture.
The hands also do not have to sit exactly below the shoulders for every club. Club length and distance from the ball affect their position. Avoid forcing the same stance width, knee bend, and hand location onto a wedge and driver. Use the club being played as part of the setup reference.
A practice cue.
Let the club rest comfortably behind the ball without reaching.
Try the exercise.
Settle around the club
- Choose a mid-iron on level ground. Set the clubhead behind the ball, tip forward, soften the knees, and let the arms hang. Adjust your distance until you can hold the club without reaching or crowding the hands against the thighs.
- Make a small rehearsal and brush the ground. Step away, then rebuild the setup around the club. If you must stretch or drop suddenly to reach the turf, adjust the distance modestly and repeat. Avoid changing knee bend, back shape, and distance all at once.
- Hit short shots from the setup you can rebuild comfortably. Step away between attempts. Keep the same club and target, and note whether the club reaches the ground naturally. Stop and reset if the setup feels strained.
What to record
After each rebuild, make a small rehearsal. Can the club brush the same patch of ground without a stretch or sudden drop? Record which setups feel crowded and which leave room.
Practice set: Rebuild the setup 5 times, then hit 2 sets of 5 short mid-irons, stepping away between shots.
Keep in mind: Picture the club resting in reach while there is room to swing it.
Review the result.
For a practice comparison, record 5 full mid-iron swings from a down-the-line view. Use the same setup for both sets; label shorter drill swings separately.
Record down-the-line with the whole body and club visible. Look for a comfortable distance to the ball and a setup that can be repeated after stepping away. Compare contact and ease of movement rather than trying to draw a perfectly straight line along the back.
Watch these clips.
These demonstrations offer another way to understand the idea. Each video opens at the selected starting point and continues playing; use the note below it to focus your viewing.
The setup examples help identify different back shapes. Use them to understand the starting posture without forcing every golfer into an identical silhouette.
The discussion focuses on exaggerated arching at address. Relate it to comfort and movement rather than treating the appearance as a medical diagnosis.