
4 of 10
Top.
Top is the changeover near the end of the backswing. It is a reference for the transition, not a pose that every part of the body reaches at the same instant.
By Dwain Kinghorn · Updated
Watch the changeover, not just the pose.
Jon Rahm’s compact backswing ends before the shaft reaches parallel to the ground. Compare the Top image with the following Transition frame: the hands begin their return while the body continues turning.
Top
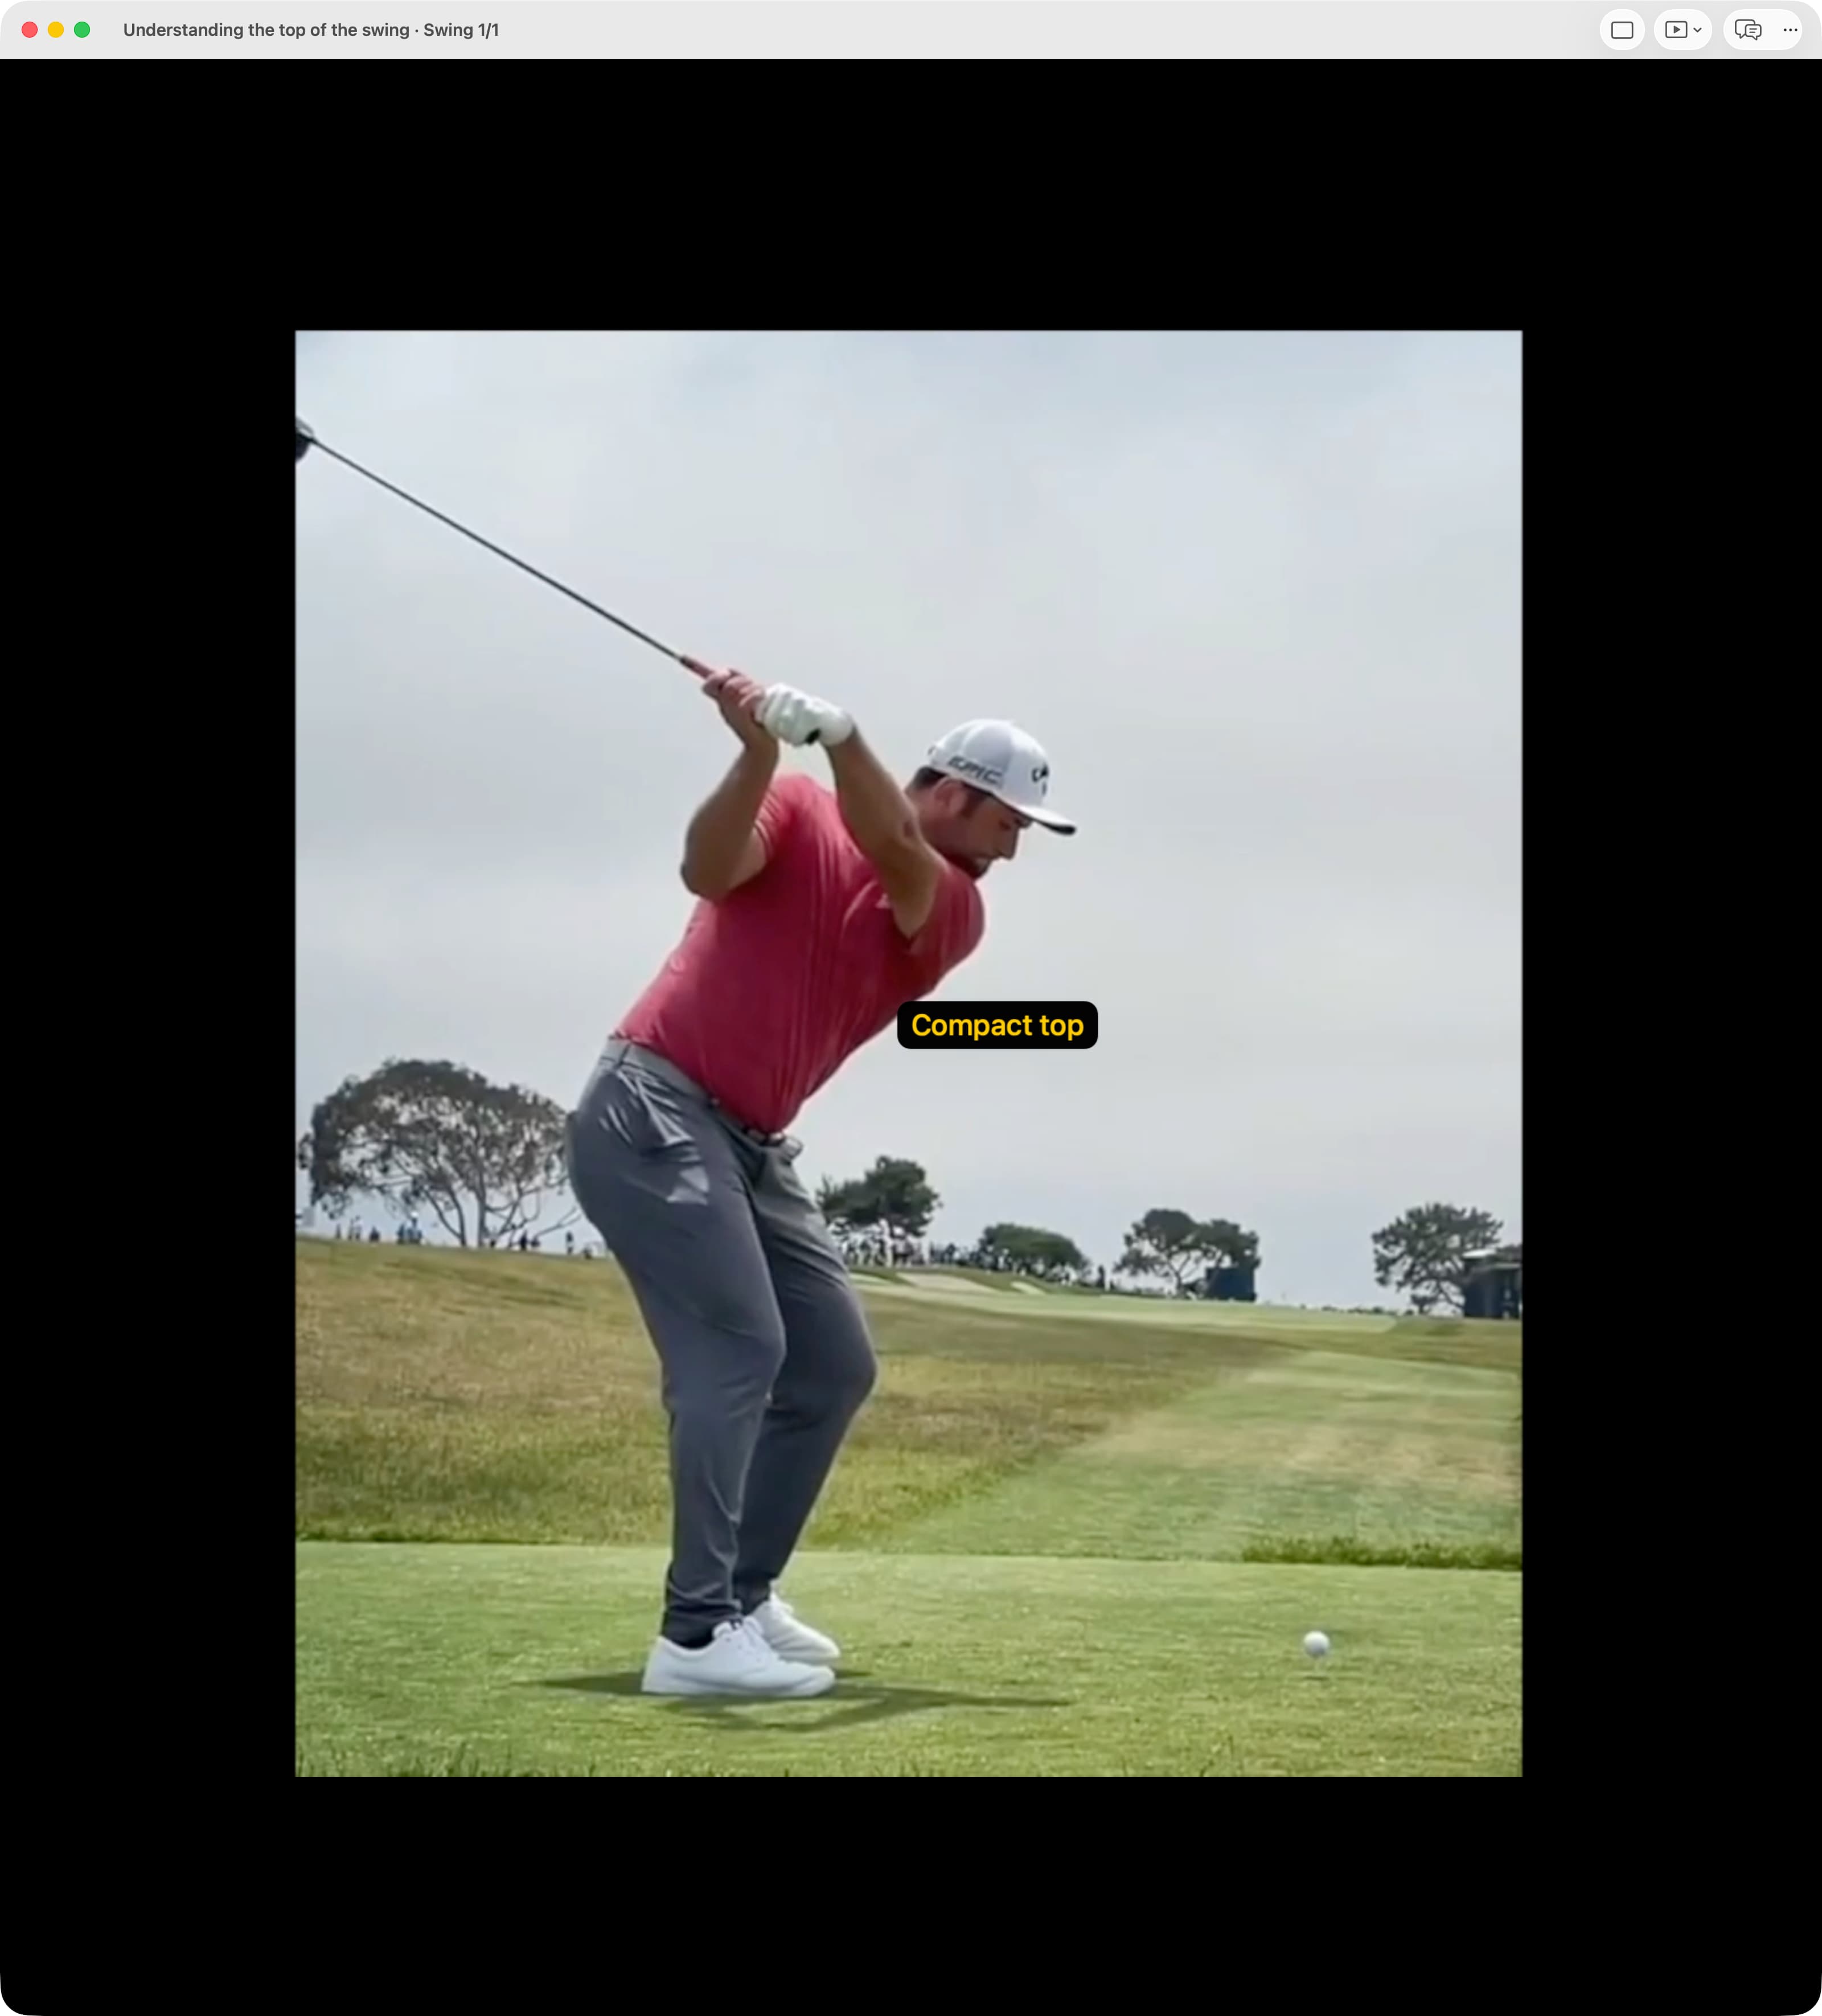
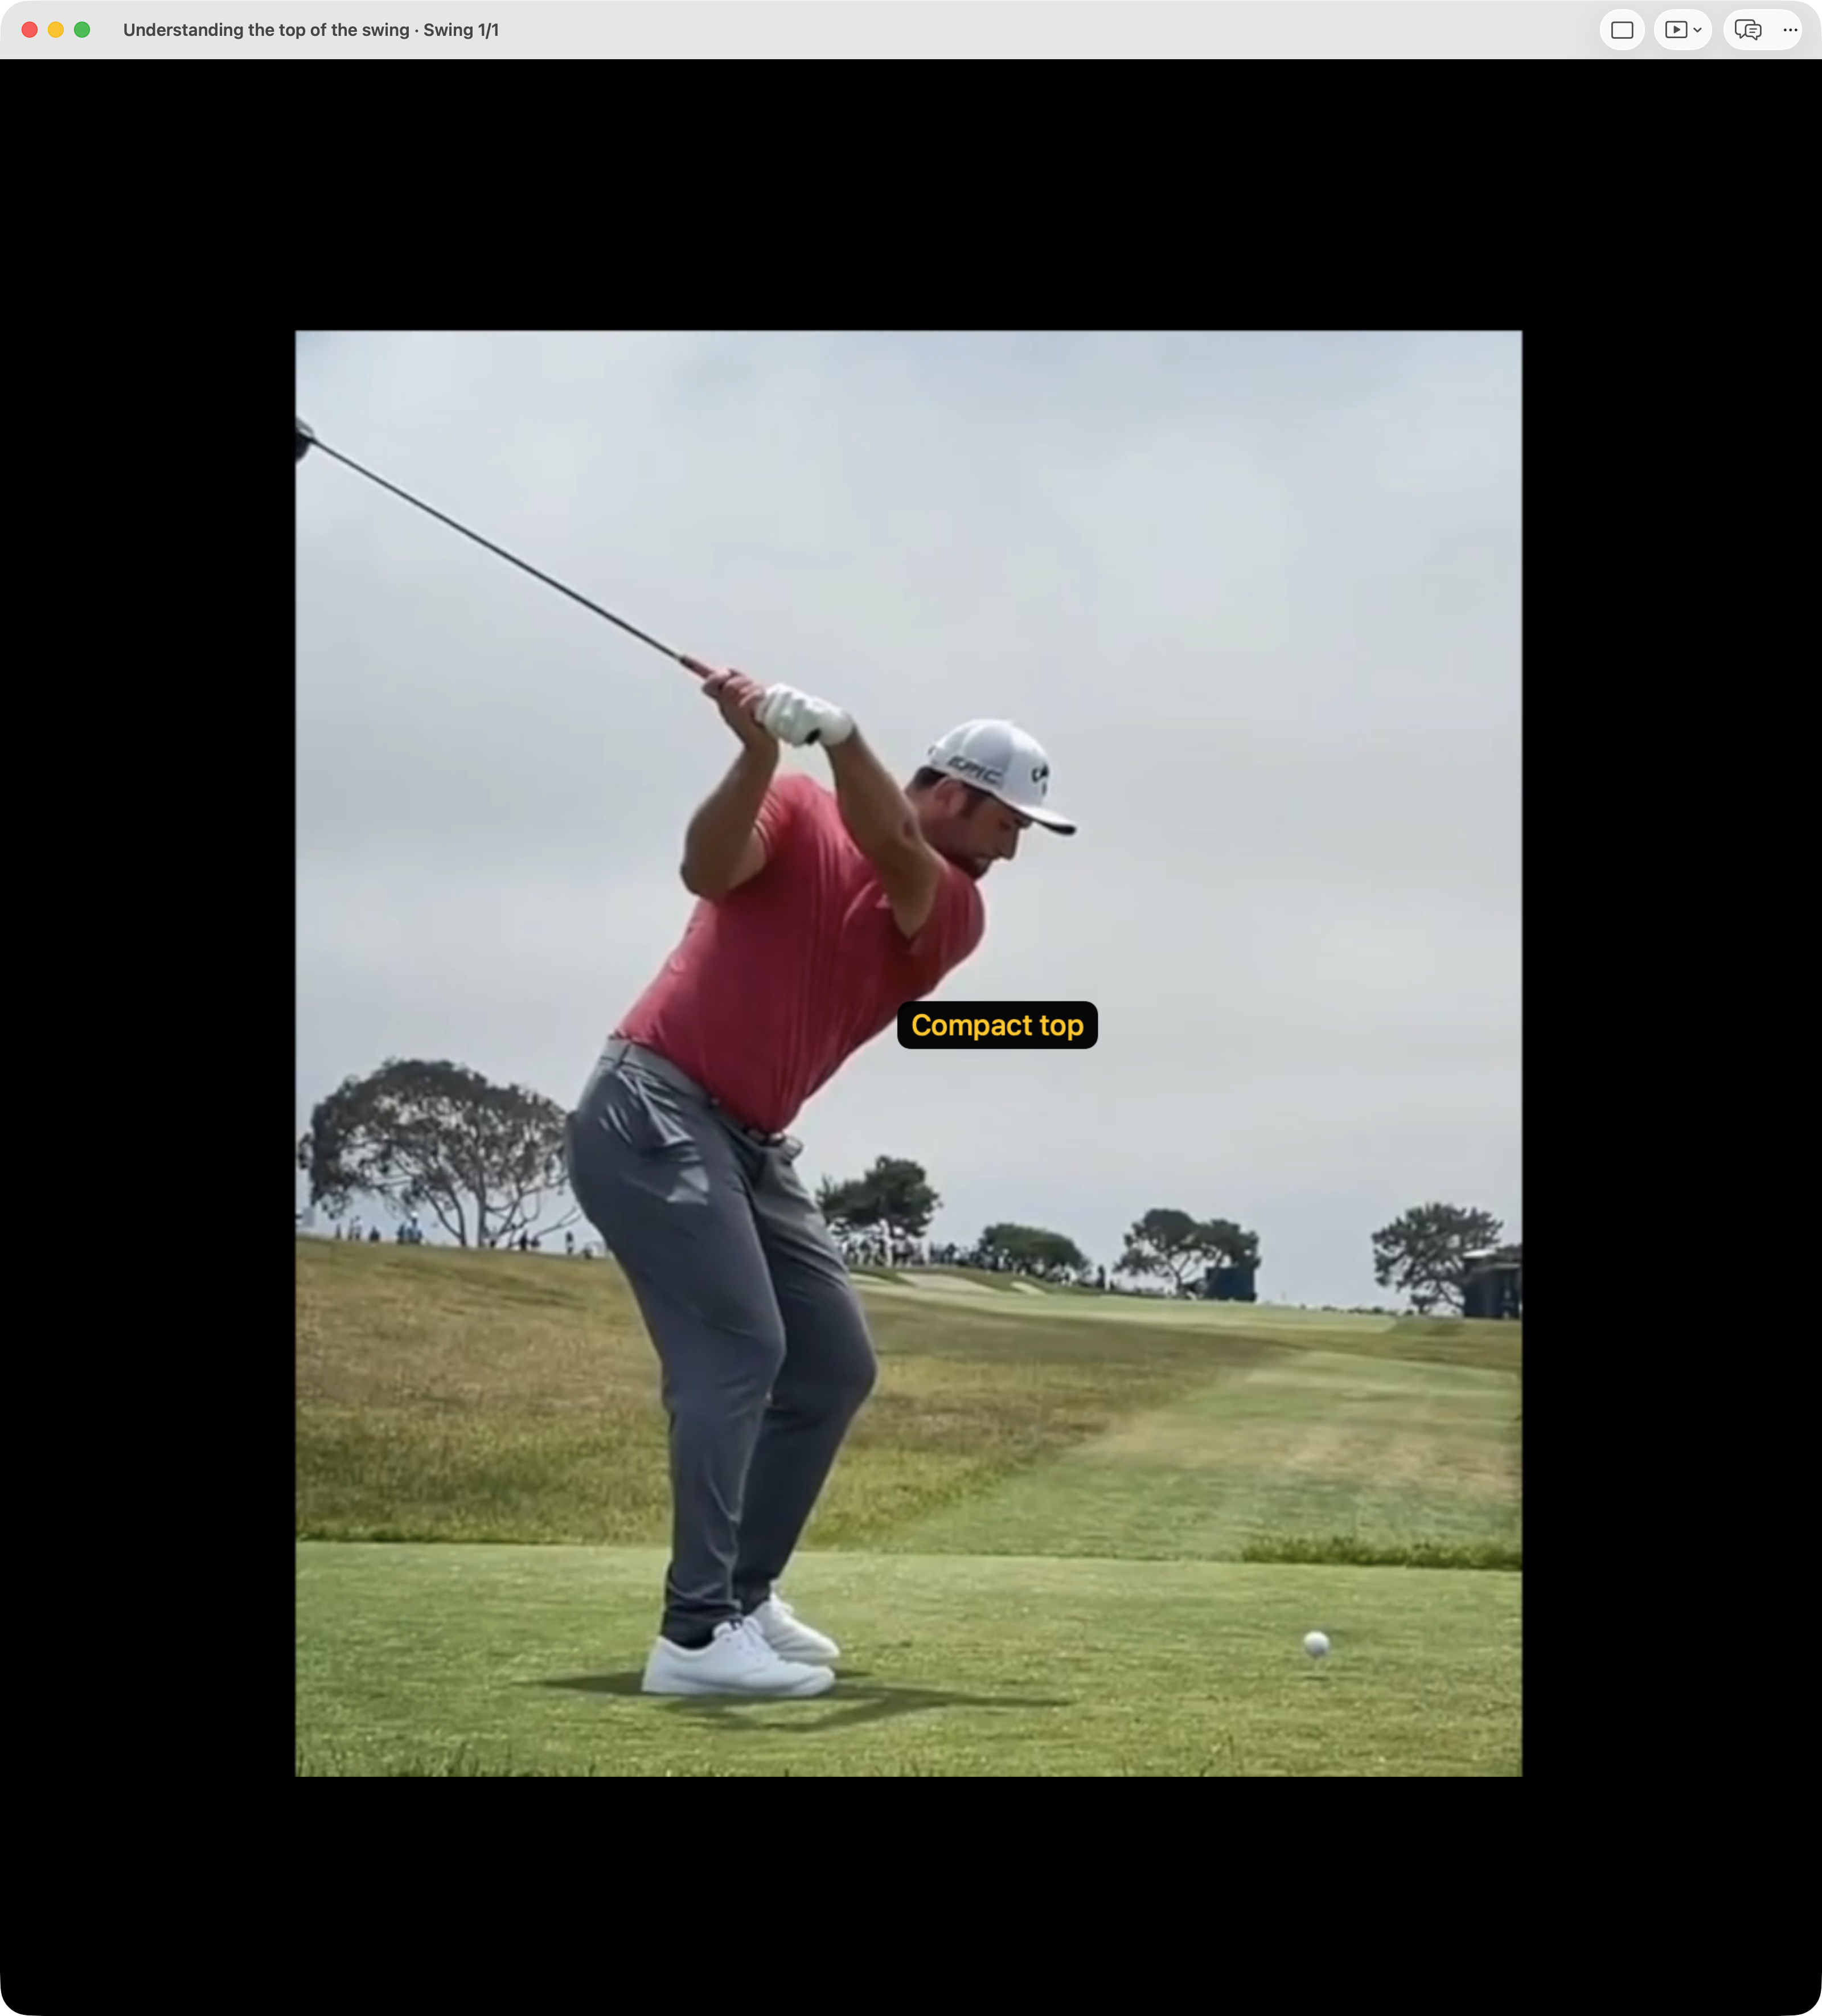
Into Transition
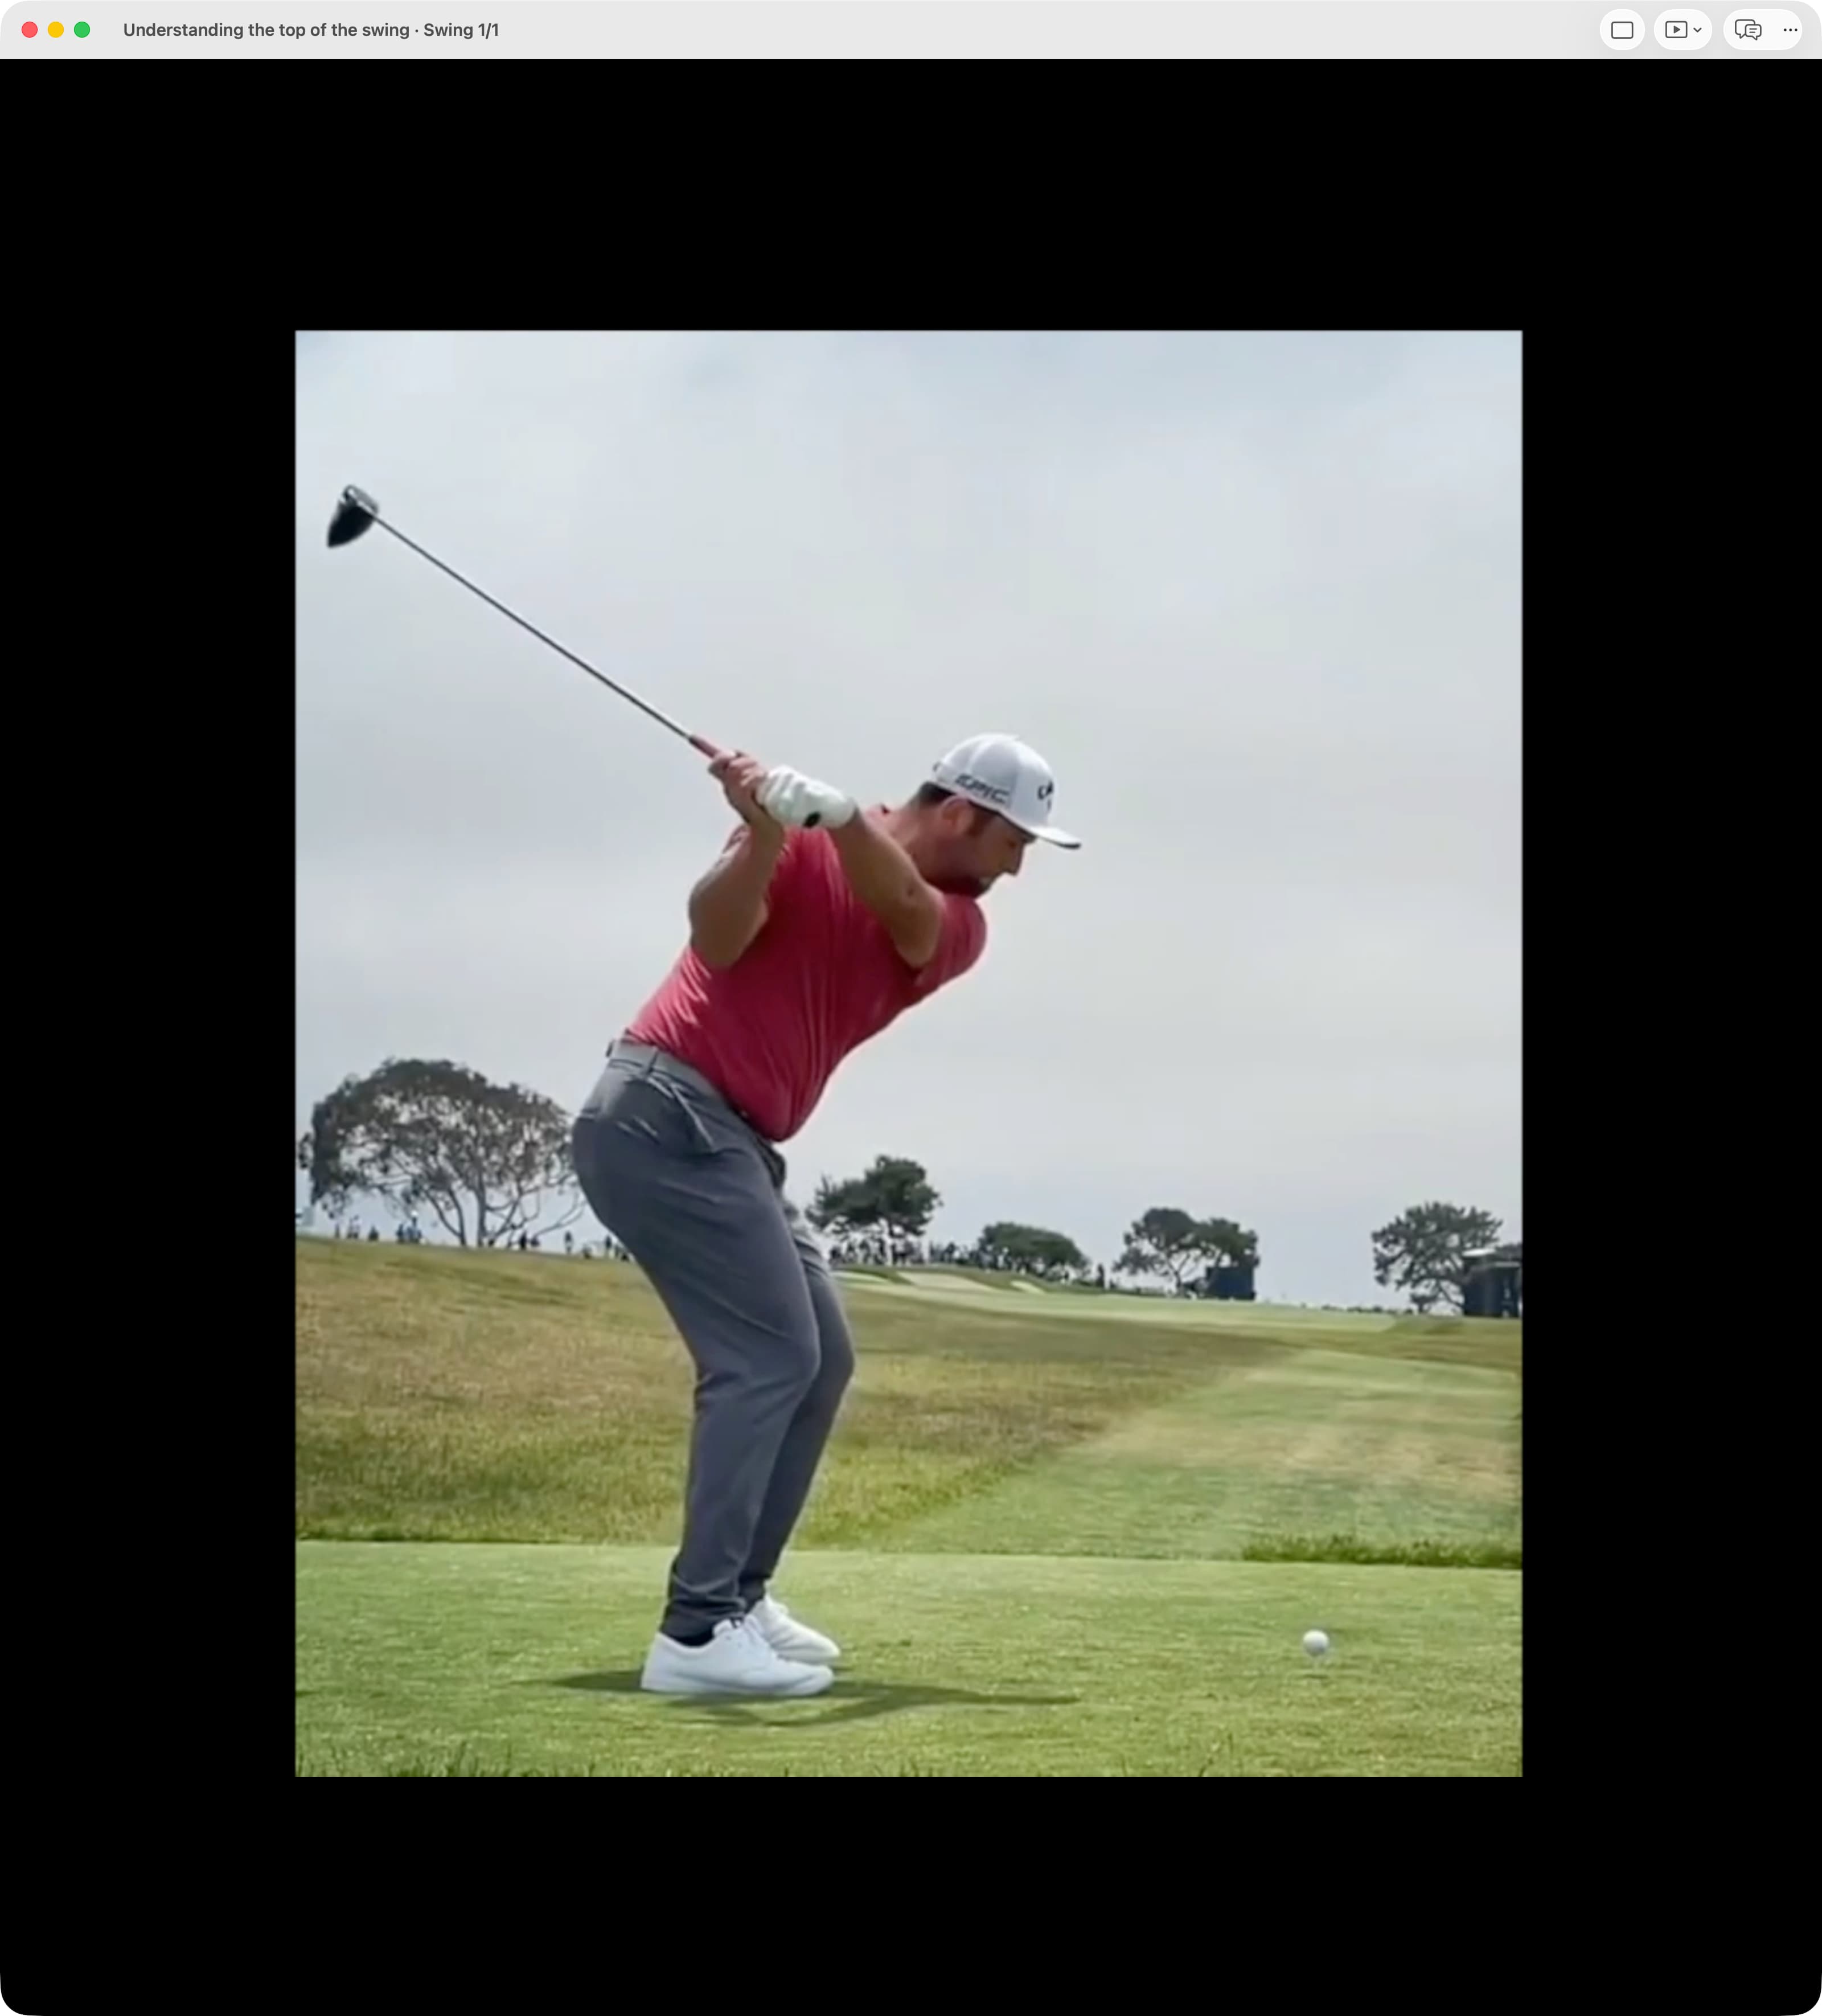
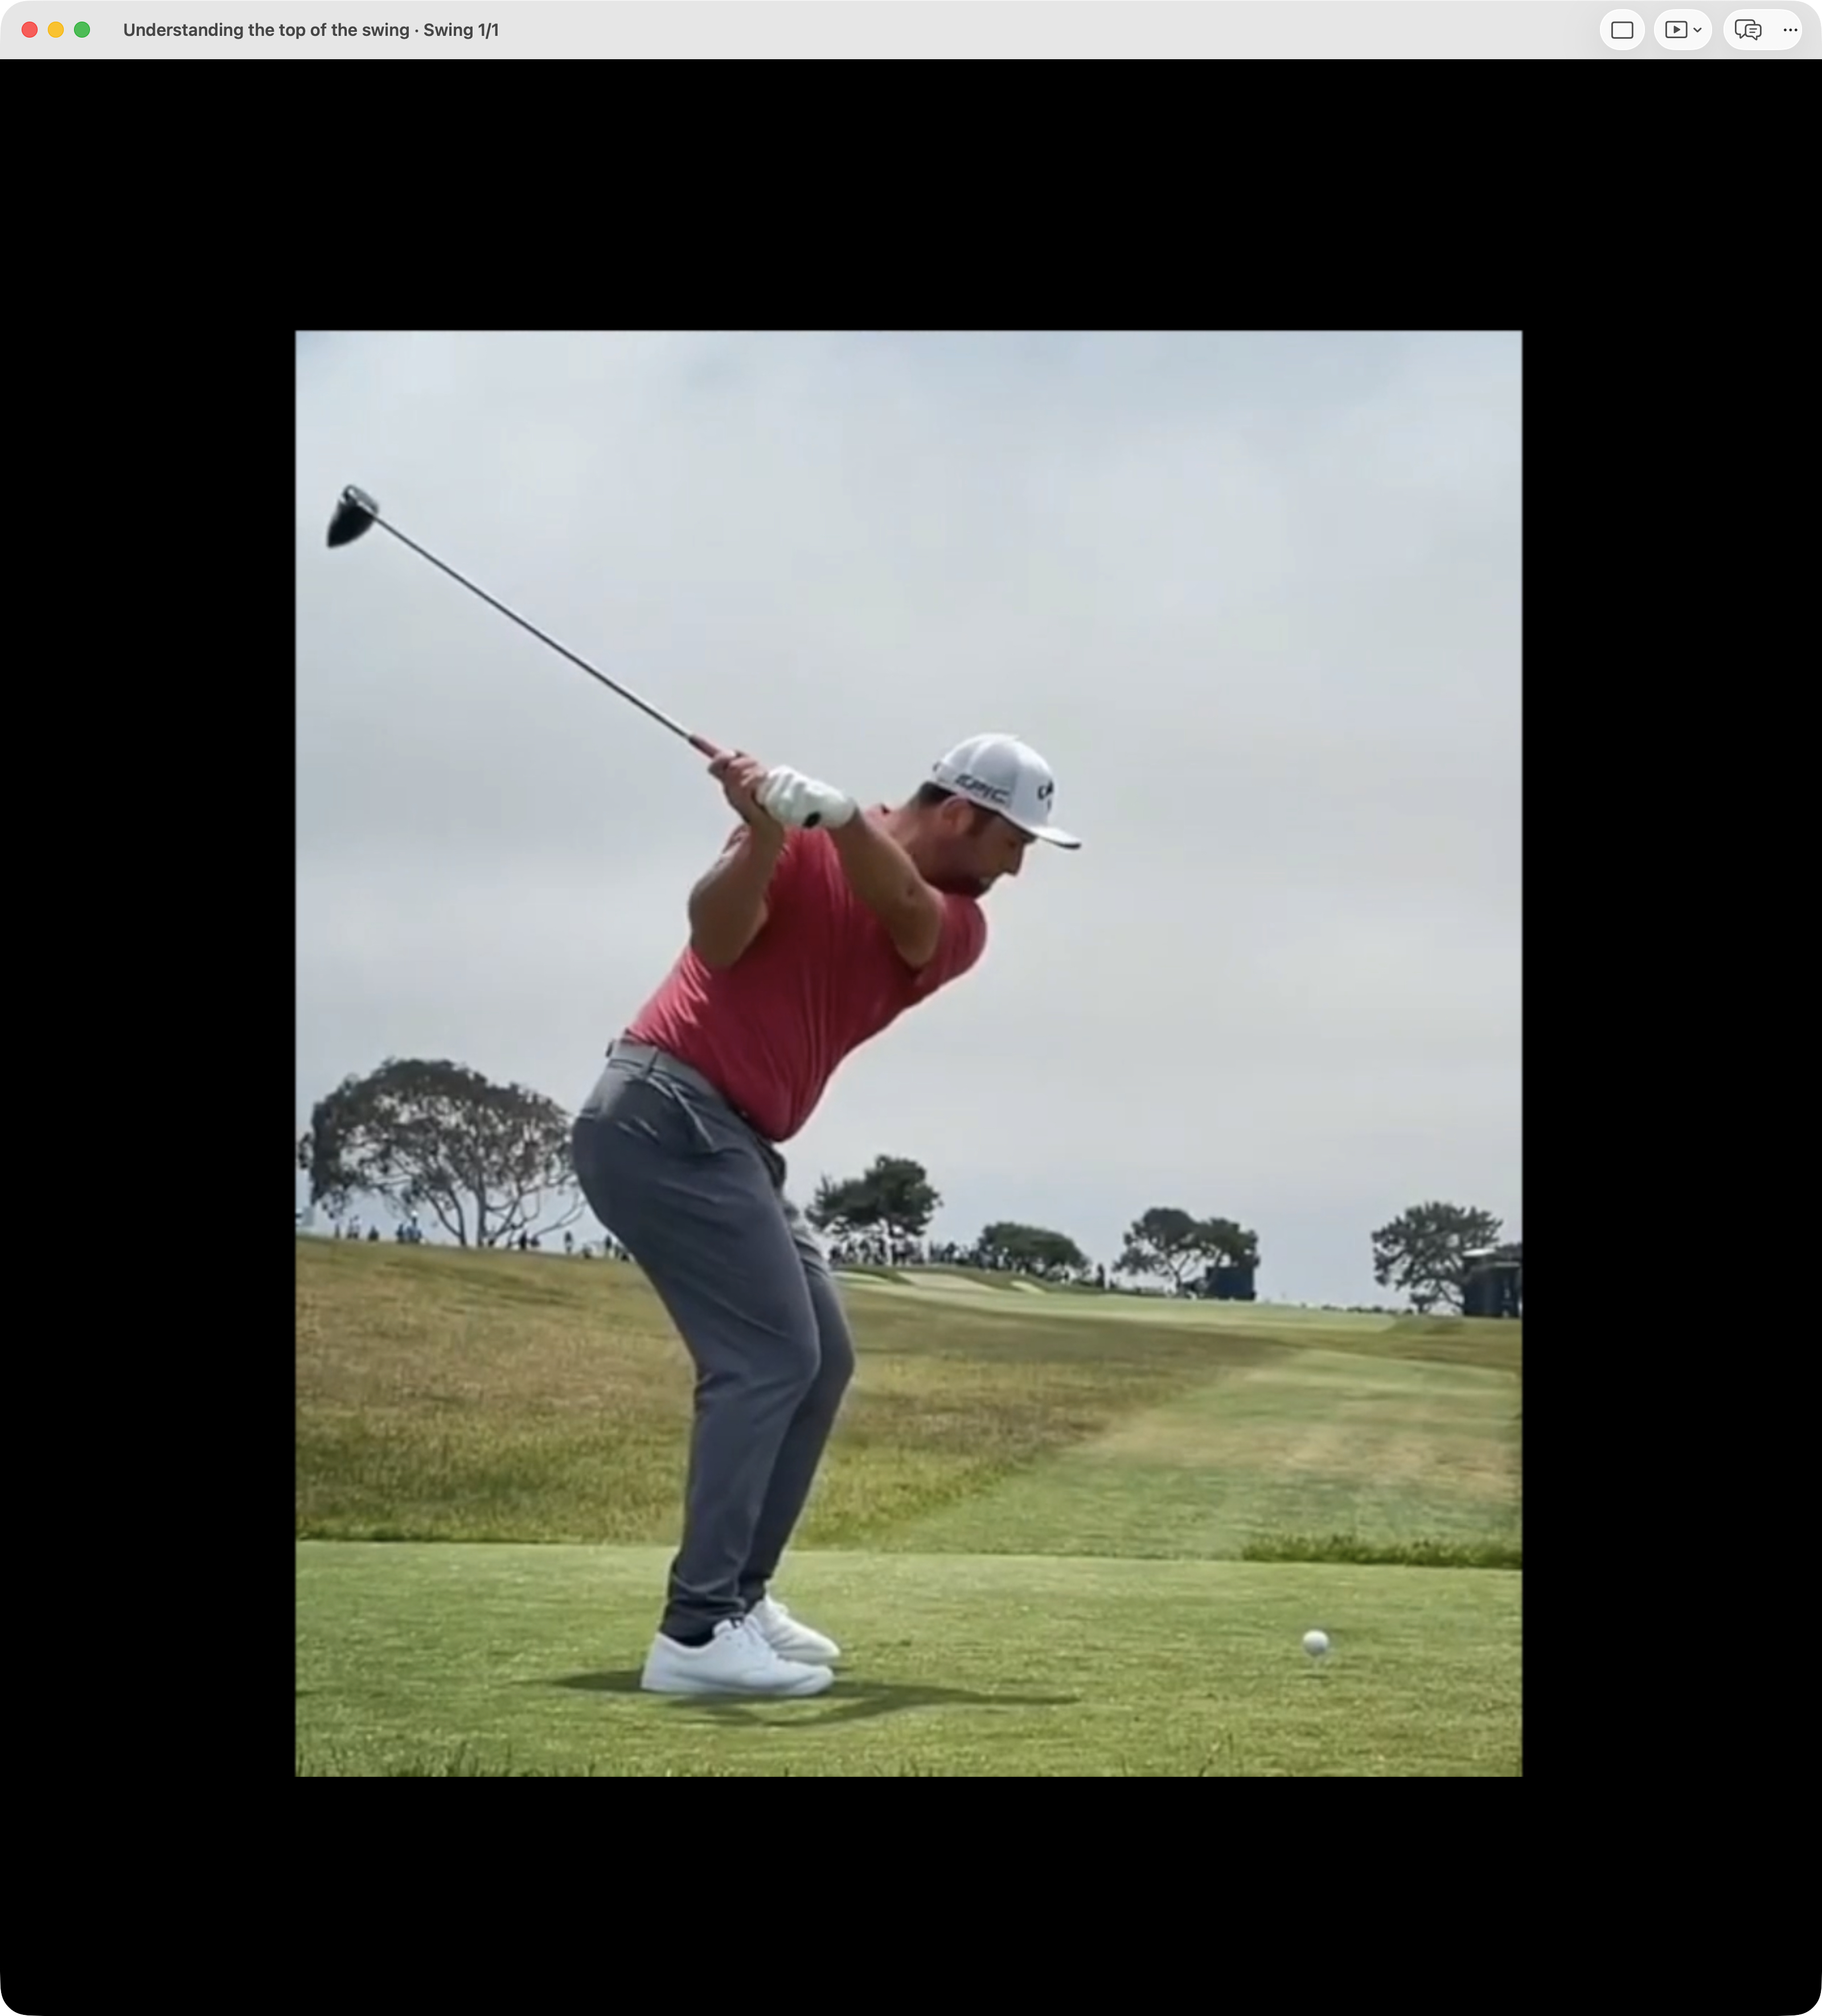
The low camera angle affects apparent arm height. Use this pair to follow change within one swing, then compare your own recordings with consistent camera placement.
Try this view with your own swing
- Find the changeover. In Video Player, use Jump to position to select Top. Step through the nearby frames to check where the club changes direction.
- Follow the hands and club. Notice where they finish the backswing and how they start back toward the ball. Use a consistent camera angle when comparing your own recordings.
- Watch what follows. Replay into the downswing. Look for a repeatable delivery and reliable contact rather than trying to copy a particular backswing length.
Understanding this position.
The club approaches the end of its backswing while other parts of the motion may already be changing direction. That overlap is normal. A selected Top still captures one moment in a continuous sequence, and a visible pause is not required.
Use face-on to review the upper body's relationship to the pelvis and the general arm-and-shaft shape. Down-the-line adds the club's position around the body. The most useful follow-up is to watch how the club leaves this position, because similar top pictures can lead to different deliveries.
How to read the position.
Backswing length, arm height, wrist shape, and elbow separation vary among effective golfers. A shaft parallel to the ground or pointing exactly at the target is not a universal requirement.
A cupped wrist must be considered with the grip and face. A high trail elbow must be considered with the transition. Do not treat either feature as a diagnosis on its own. A comfortable shorter top can be a better foundation than a strained attempt to reach a conventional picture.
Read each camera view.
Face-on
Start with backswing length and how the body changes direction.
What this view can show.
- Hands and club
- Notice hand height and backswing length relative to the comfortable turn. Reaching farther is not automatically an advantage if it makes the return harder.
- Shaft orientation
- The shaft may stop short of parallel or travel beyond it. Its length of travel should be judged against the shot and the following transition.
- Body rotation
- The chest often appears more turned than the pelvis. The visible difference is descriptive, not a target angle or a measurement of stored energy.
Down-the-line
Start with the hands and shaft, then follow their first move down.
What this view can show.
- Hands and club
- Look at how the hands and club are arranged around the body. Ask whether that position permits an easy return, not whether the hands match one shoulder height.
- Shaft orientation
- Across the line and laid off describe shaft direction near the top. Neither label alone establishes the eventual club path or strike quality.
- Body rotation
- The pelvis may already be changing direction while the club finishes going back. Use adjacent frames before calling the motion disconnected.
Video shows movement and visible balance; it cannot measure pressure under the feet.
Play through Transition before deciding what the Top means. Look for a route back to the ball that remains comfortable and repeatable. A picture can be unusual yet functional.
Compare shot results when experimenting with length or shape. If a shorter top improves contact, keep it while building consistency. Do not add several top-position instructions to a single swing; use the guide to understand the motion, then choose one relevant task if a change is needed.
Watch these clips.
Use these demonstrations to put the still into motion. Each video opens at the selected starting point and continues playing; the note below explains its relevance to this position.
The wrist discussion provides one way to examine the top. A flat lead wrist is not compulsory; read the grip and face relationship together.
The mirror practice illustrates how to observe a top position. Compare comfort and the following transition rather than stopping at a preferred pose.