
9 of 10
Follow-Through.
Follow-Through shows how the club exits after the strike. It offers clues about the motion, but an after-impact pose cannot by itself explain what caused the ball’s flight.
By Dwain Kinghorn · Updated
The exit tells part of the story.
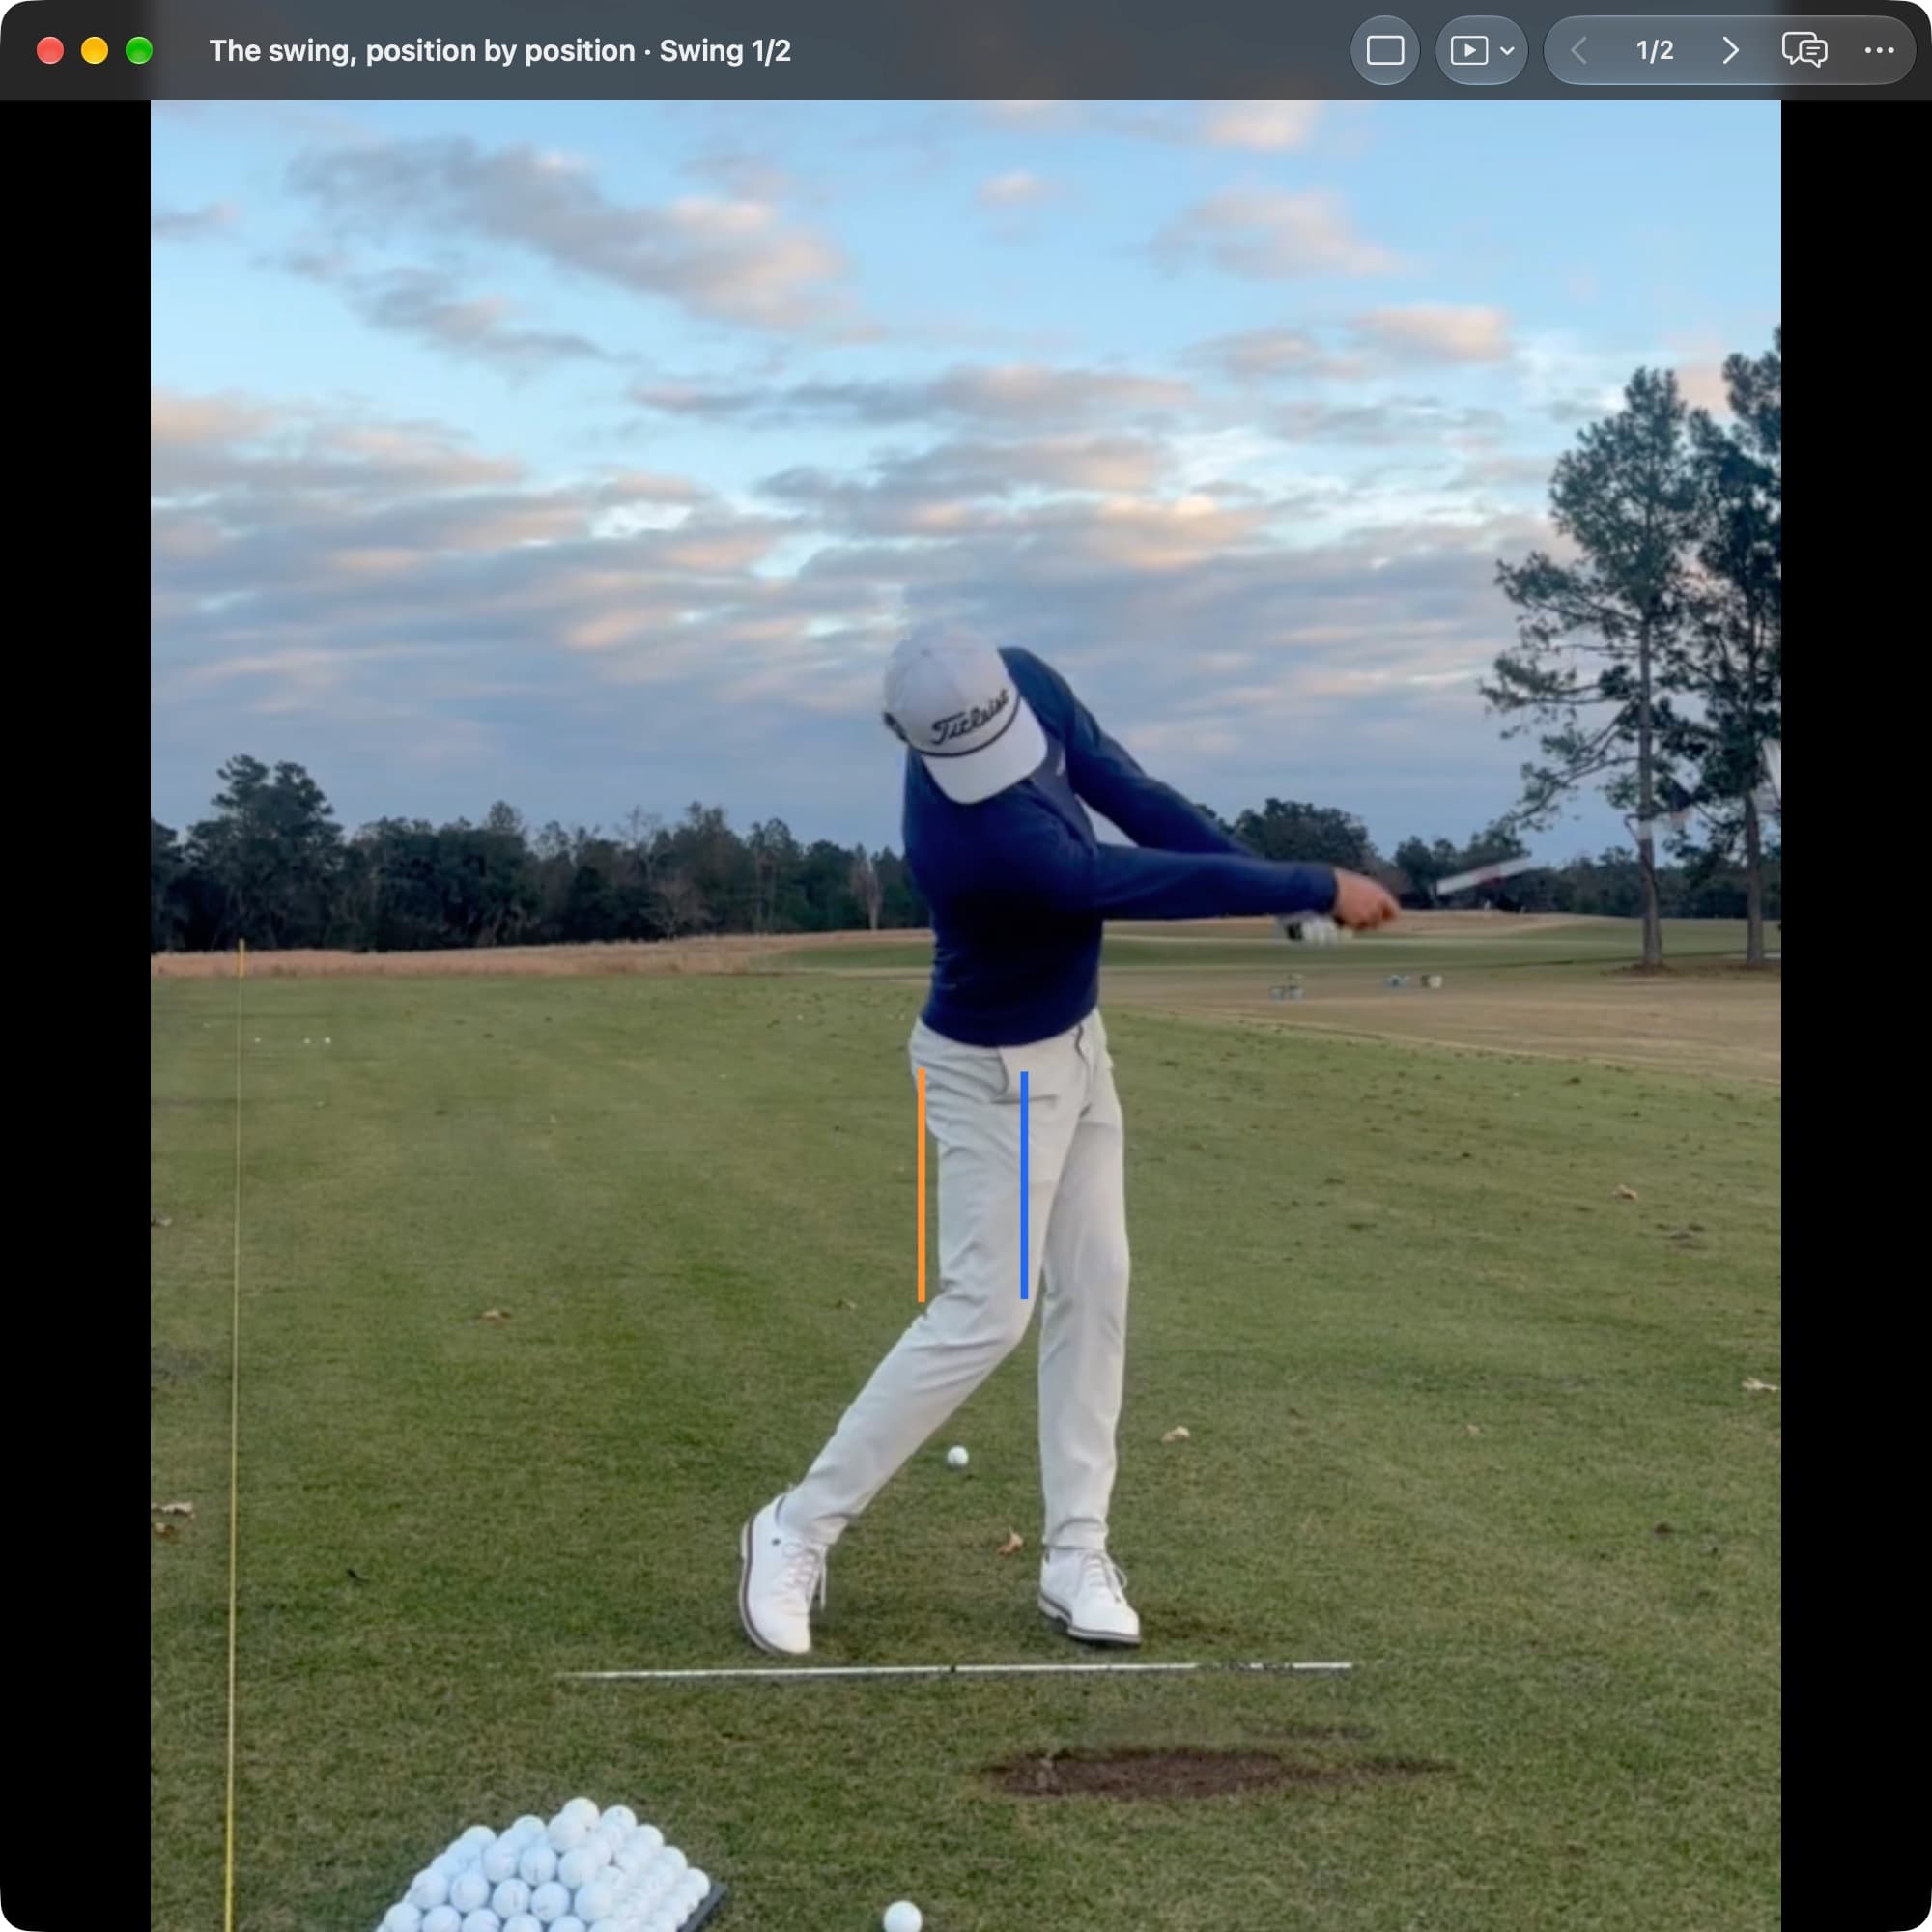
After the strike the club keeps moving around the body. The follow-through shows how the motion continues, but it cannot by itself explain the ball's flight.
Face-on
Down-the-line
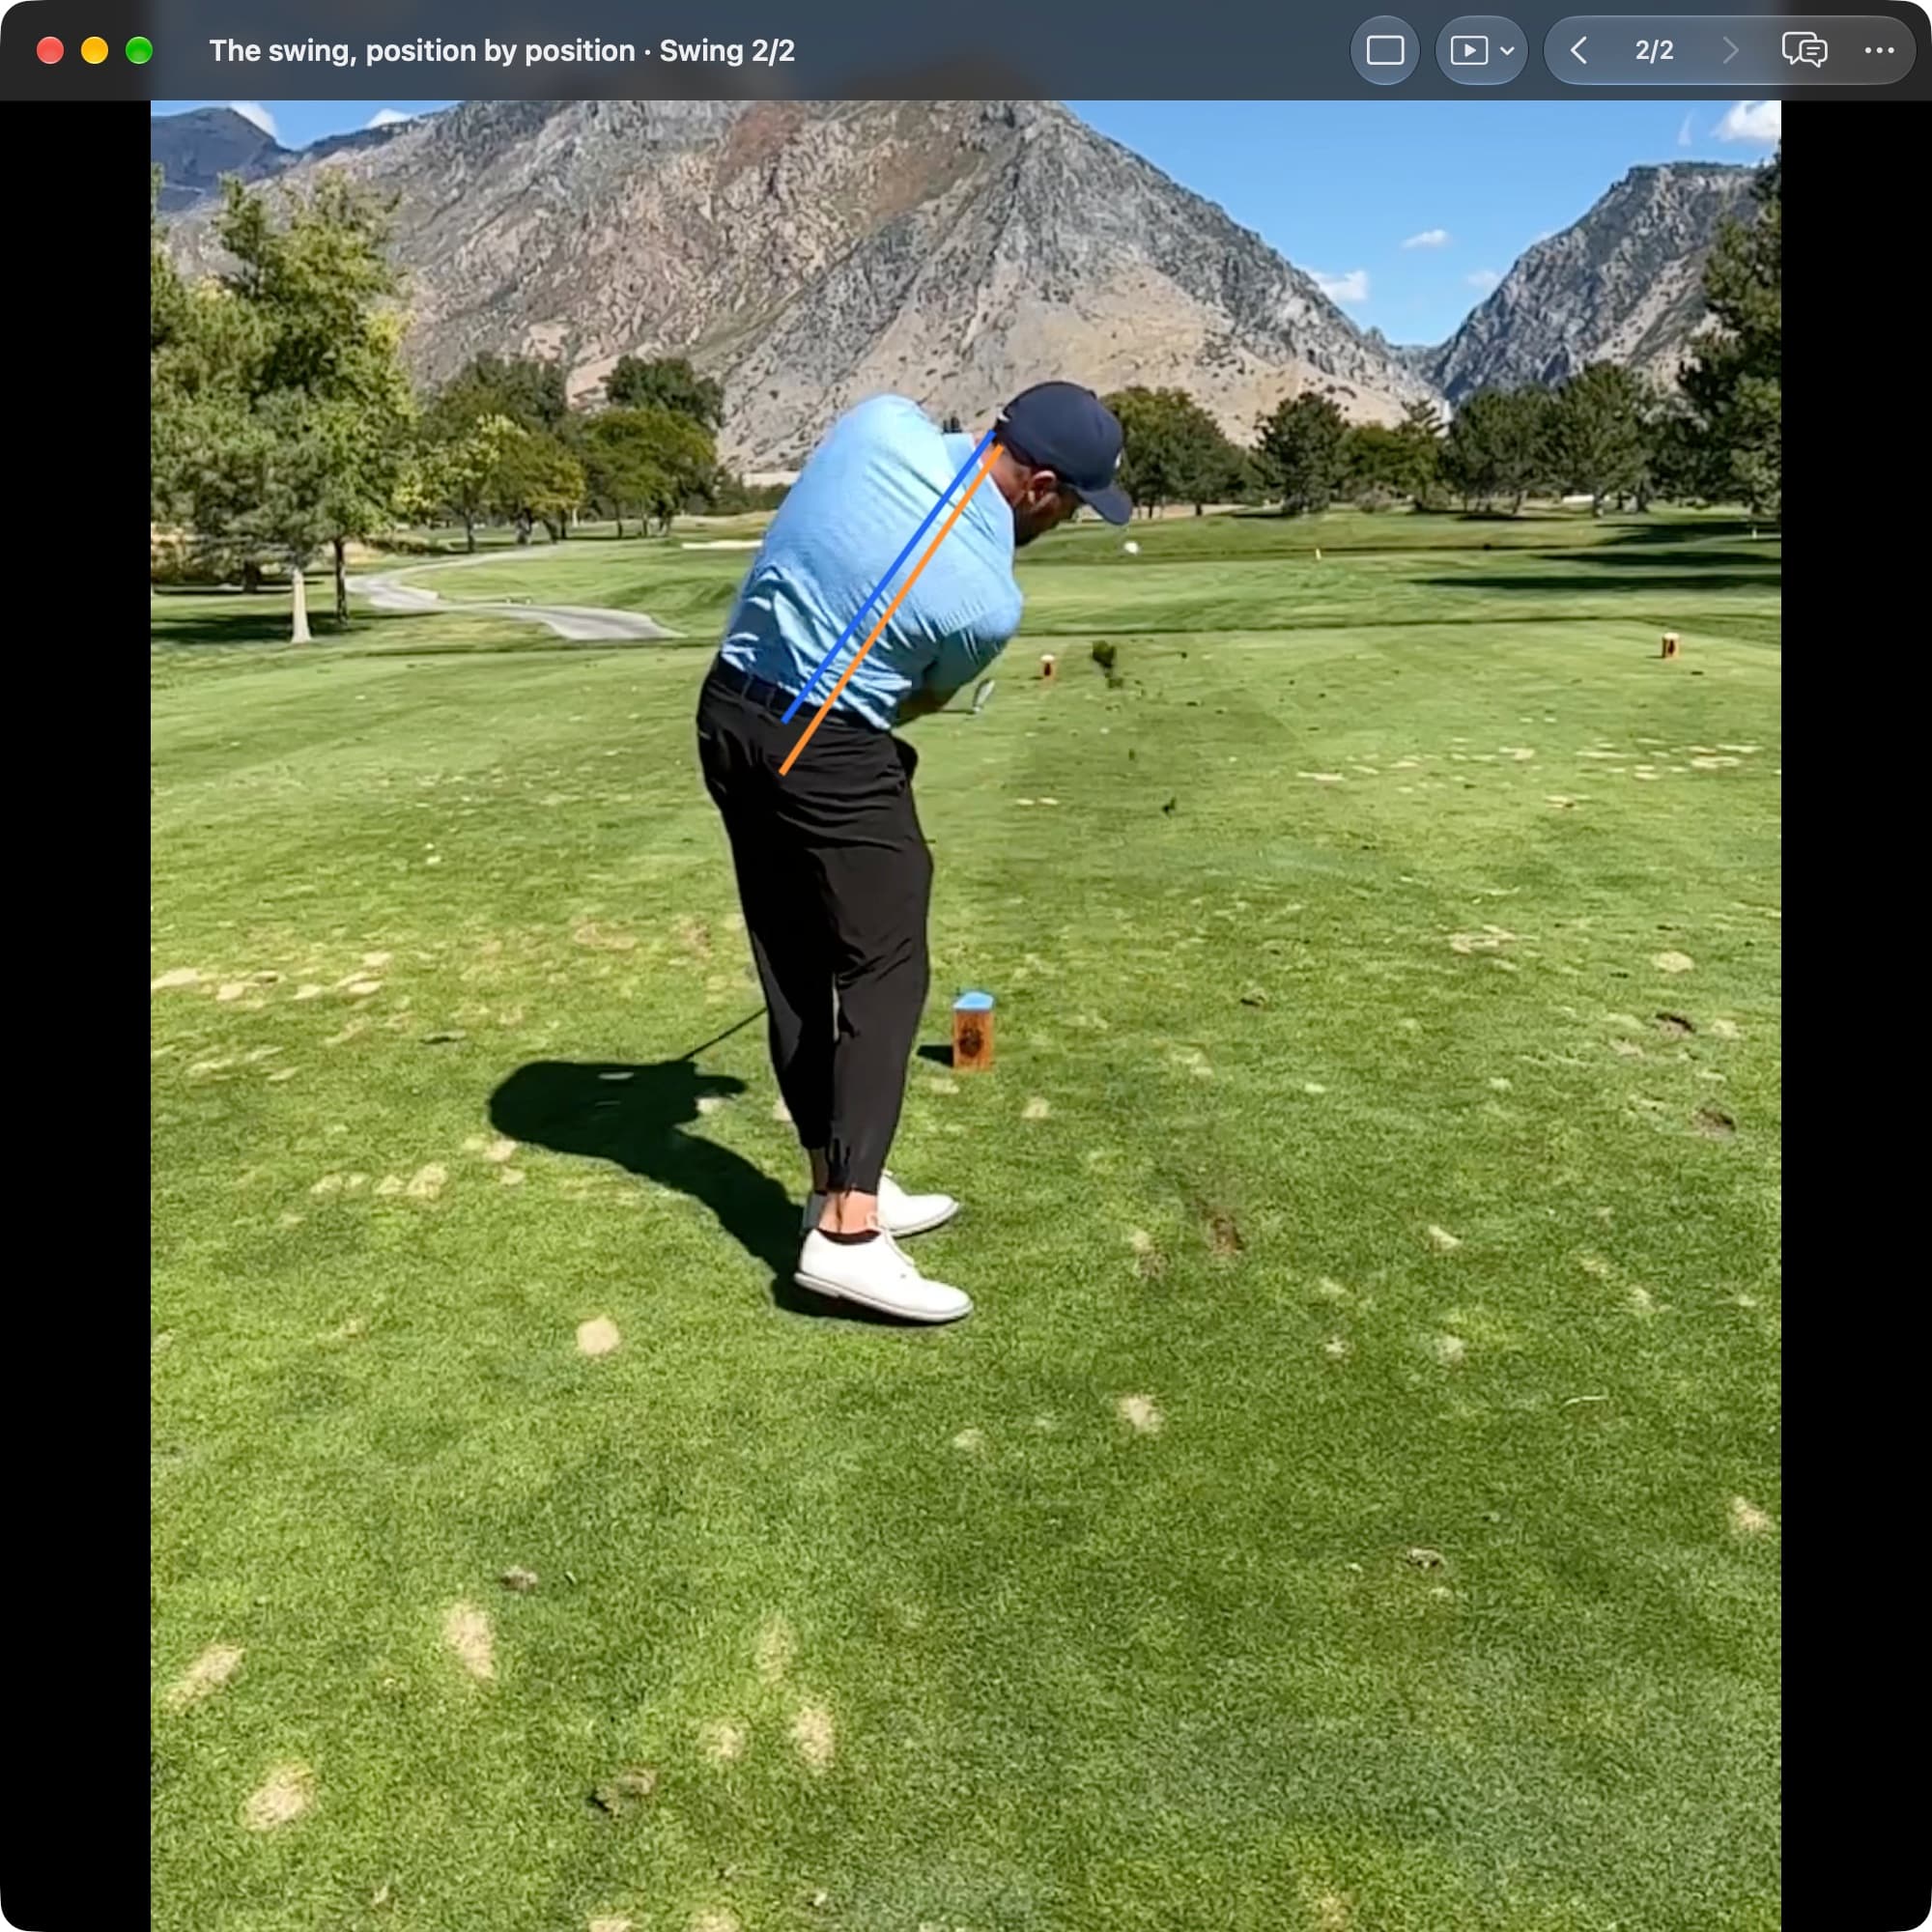
Use the follow-through as context for the strike you already saw, not as proof of what caused it. A controlled shot may finish shorter on purpose.
Try this view with your own swing
- Choose the frame. Open the swing in Video Player and use Jump to position to select Follow-Through. Step a frame either way to see the motion around it.
- Compare with Address. Turn on both the Setup and Live toggles for one reference line to see how far the body has turned and risen.
- Connect it to the shot. Review the follow-through alongside the contact and ball flight, and compare several ordinary swings.
Understanding this position.
After impact, the club continues along an arc around and upward. The arms release and eventually fold, while the body keeps turning and extends toward the finish. The ball has already left the face during much of this visible movement.
Face-on helps show the club passing the hands and the arms' developing fold. Down-the-line shows the exit route around the body. Watch from before impact through this frame so an ordinary part of the finish is not mistaken for a cause of the strike.
How to read the position.
The club does not travel straight toward the target indefinitely. The hands and club move inward as the arc continues. A lower or more around-the-body exit is not automatically a hook, just as a higher finish is not proof of a straight path.
The lead arm will bend eventually, and the body can stand taller as the swing completes. A punch, a partial wedge, and a full iron can have different finish lengths. Judge the follow-through against the intended shot rather than requiring long arms and a high club on every attempt.
Read each camera view.
Face-on
Follow the clubhead as it passes the hands and continues around. The timing and appearance depend on the selected frame and the shot type.
What this view can show.
- Hands and club
- Follow the clubhead as it passes the hands and continues around. The timing and appearance depend on the selected frame and the shot type.
- Wrist and clubface
- The wrists change shape as the release continues. Do not demand that the face remain pointed at the target throughout the exit.
- Shaft orientation
- The shaft moves beyond the hitting area and rises around the body. A short exit can be intentional on a controlled partial shot.
- Pelvis and space
- The pelvis continues turning and the body may extend. It is not required to maintain the same space or outline as Address forever.
- Chest and shoulders
- The chest turns through toward the finish. An apparently quiet chest in one frame does not establish a stall without the surrounding motion.
- Body rotation
- The relationship between chest and pelvis continues changing. The follow-through is not a required moment when their lines must match.
- Feet and balance
- Observe whether the golfer remains balanced as the motion slows. The visible foot action cannot reveal a load split or the forces used earlier.
Video shows foot movement and balance, not pressure distribution or ground-reaction force.
Down-the-line
Watch the hands travel around with the arc. Moving inward after impact is normal; pushing them down the target line indefinitely can interfere with the exit.
What this view can show.
- Hands and club
- Watch the hands travel around with the arc. Moving inward after impact is normal; pushing them down the target line indefinitely can interfere with the exit.
- Wrist and clubface
- The face changes direction rapidly as the club releases. This angle cannot reliably reconstruct its exact orientation during the earlier collision.
- Shaft orientation
- Observe the exit in relation to the preceding approach. The follow-through shaft line alone cannot determine the club path that existed at impact.
- Pelvis and space
- The pelvis can turn and rise as the swing finishes. A tall after-impact position does not prove early extension happened before the strike.
- Chest and shoulders
- The torso turns and extends into the finish. Judge whether the motion flows rather than requiring a particular amount of retained bend.
- Body rotation
- Body segments can continue moving at different rates. A single frame cannot show which segment decelerated or when it did so.
- Feet and balance
- Look for a comfortable continuation rather than a stumble or forced recovery. Foot pressure remains unmeasured even when the balance looks clear.
Video shows foot movement and balance, not pressure distribution or ground-reaction force.
Use the exit as a clue, then return to the approach and shot result. If the lead arm folds abruptly, ask whether delivery was crowded before trying to straighten the arm after impact.
Compare the same kind of shot. A deliberately abbreviated flighted iron should not be judged against a full driver finish. A useful practice change produces a freer motion and a more repeatable result, not simply a longer-looking follow-through.
Watch these clips.
Use these demonstrations to put the still into motion. Each video opens at the selected starting point and continues playing; the note below explains its relevance to this position.
The rehearsals illustrate a continuing follow-through. Connect the exit with the preceding strike rather than lengthening the finish for appearance.
The release explanation shows the club continuing around after the ball. The face and arms need not remain fixed toward the target.