
7 of 10
Pre-Impact.
Pre-Impact is the last part of the approach before contact. Use it to connect the downswing with the strike, while recognizing that a nearby frame may not capture impact itself.
By Dwain Kinghorn · Updated
A teed driver may use less forward shaft lean and a different upper-body tilt than a stock mid-iron. Read the frame for the shot being attempted.
The last frames before contact.
Pre-Impact connects the downswing with the strike. The club is just short of the ball, so the body's position here shows how the delivery is setting up.
Face-on
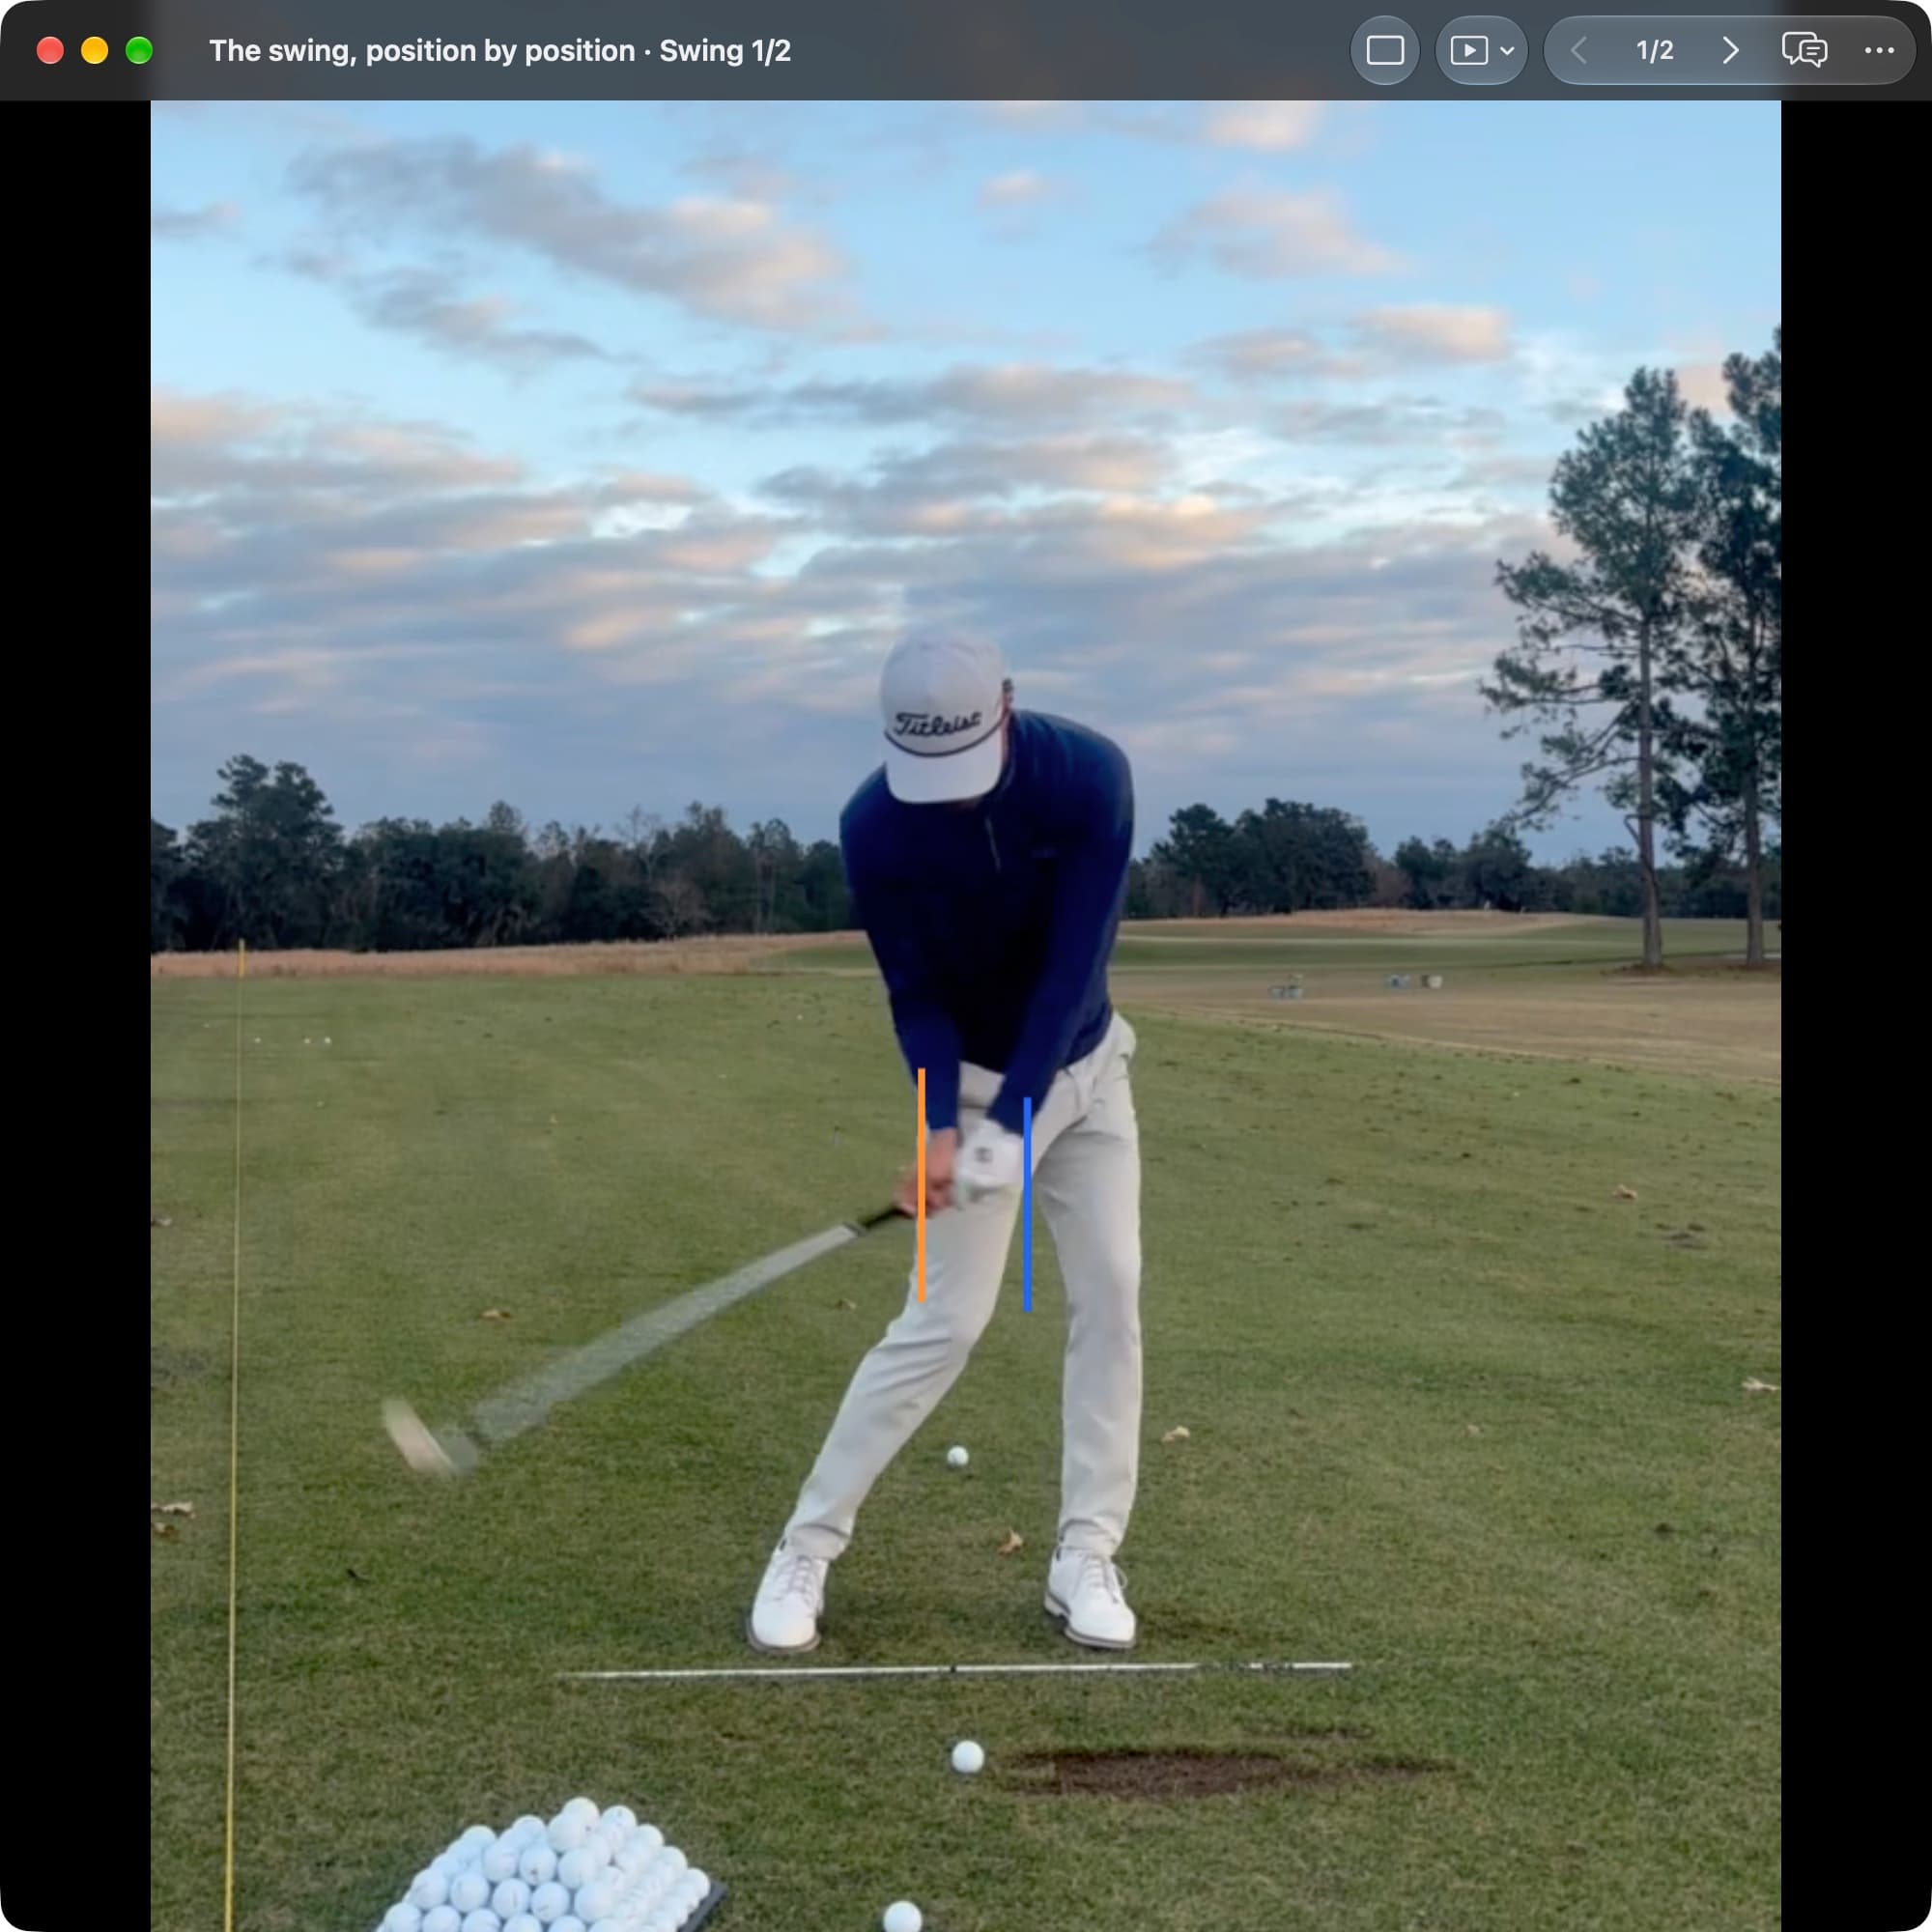
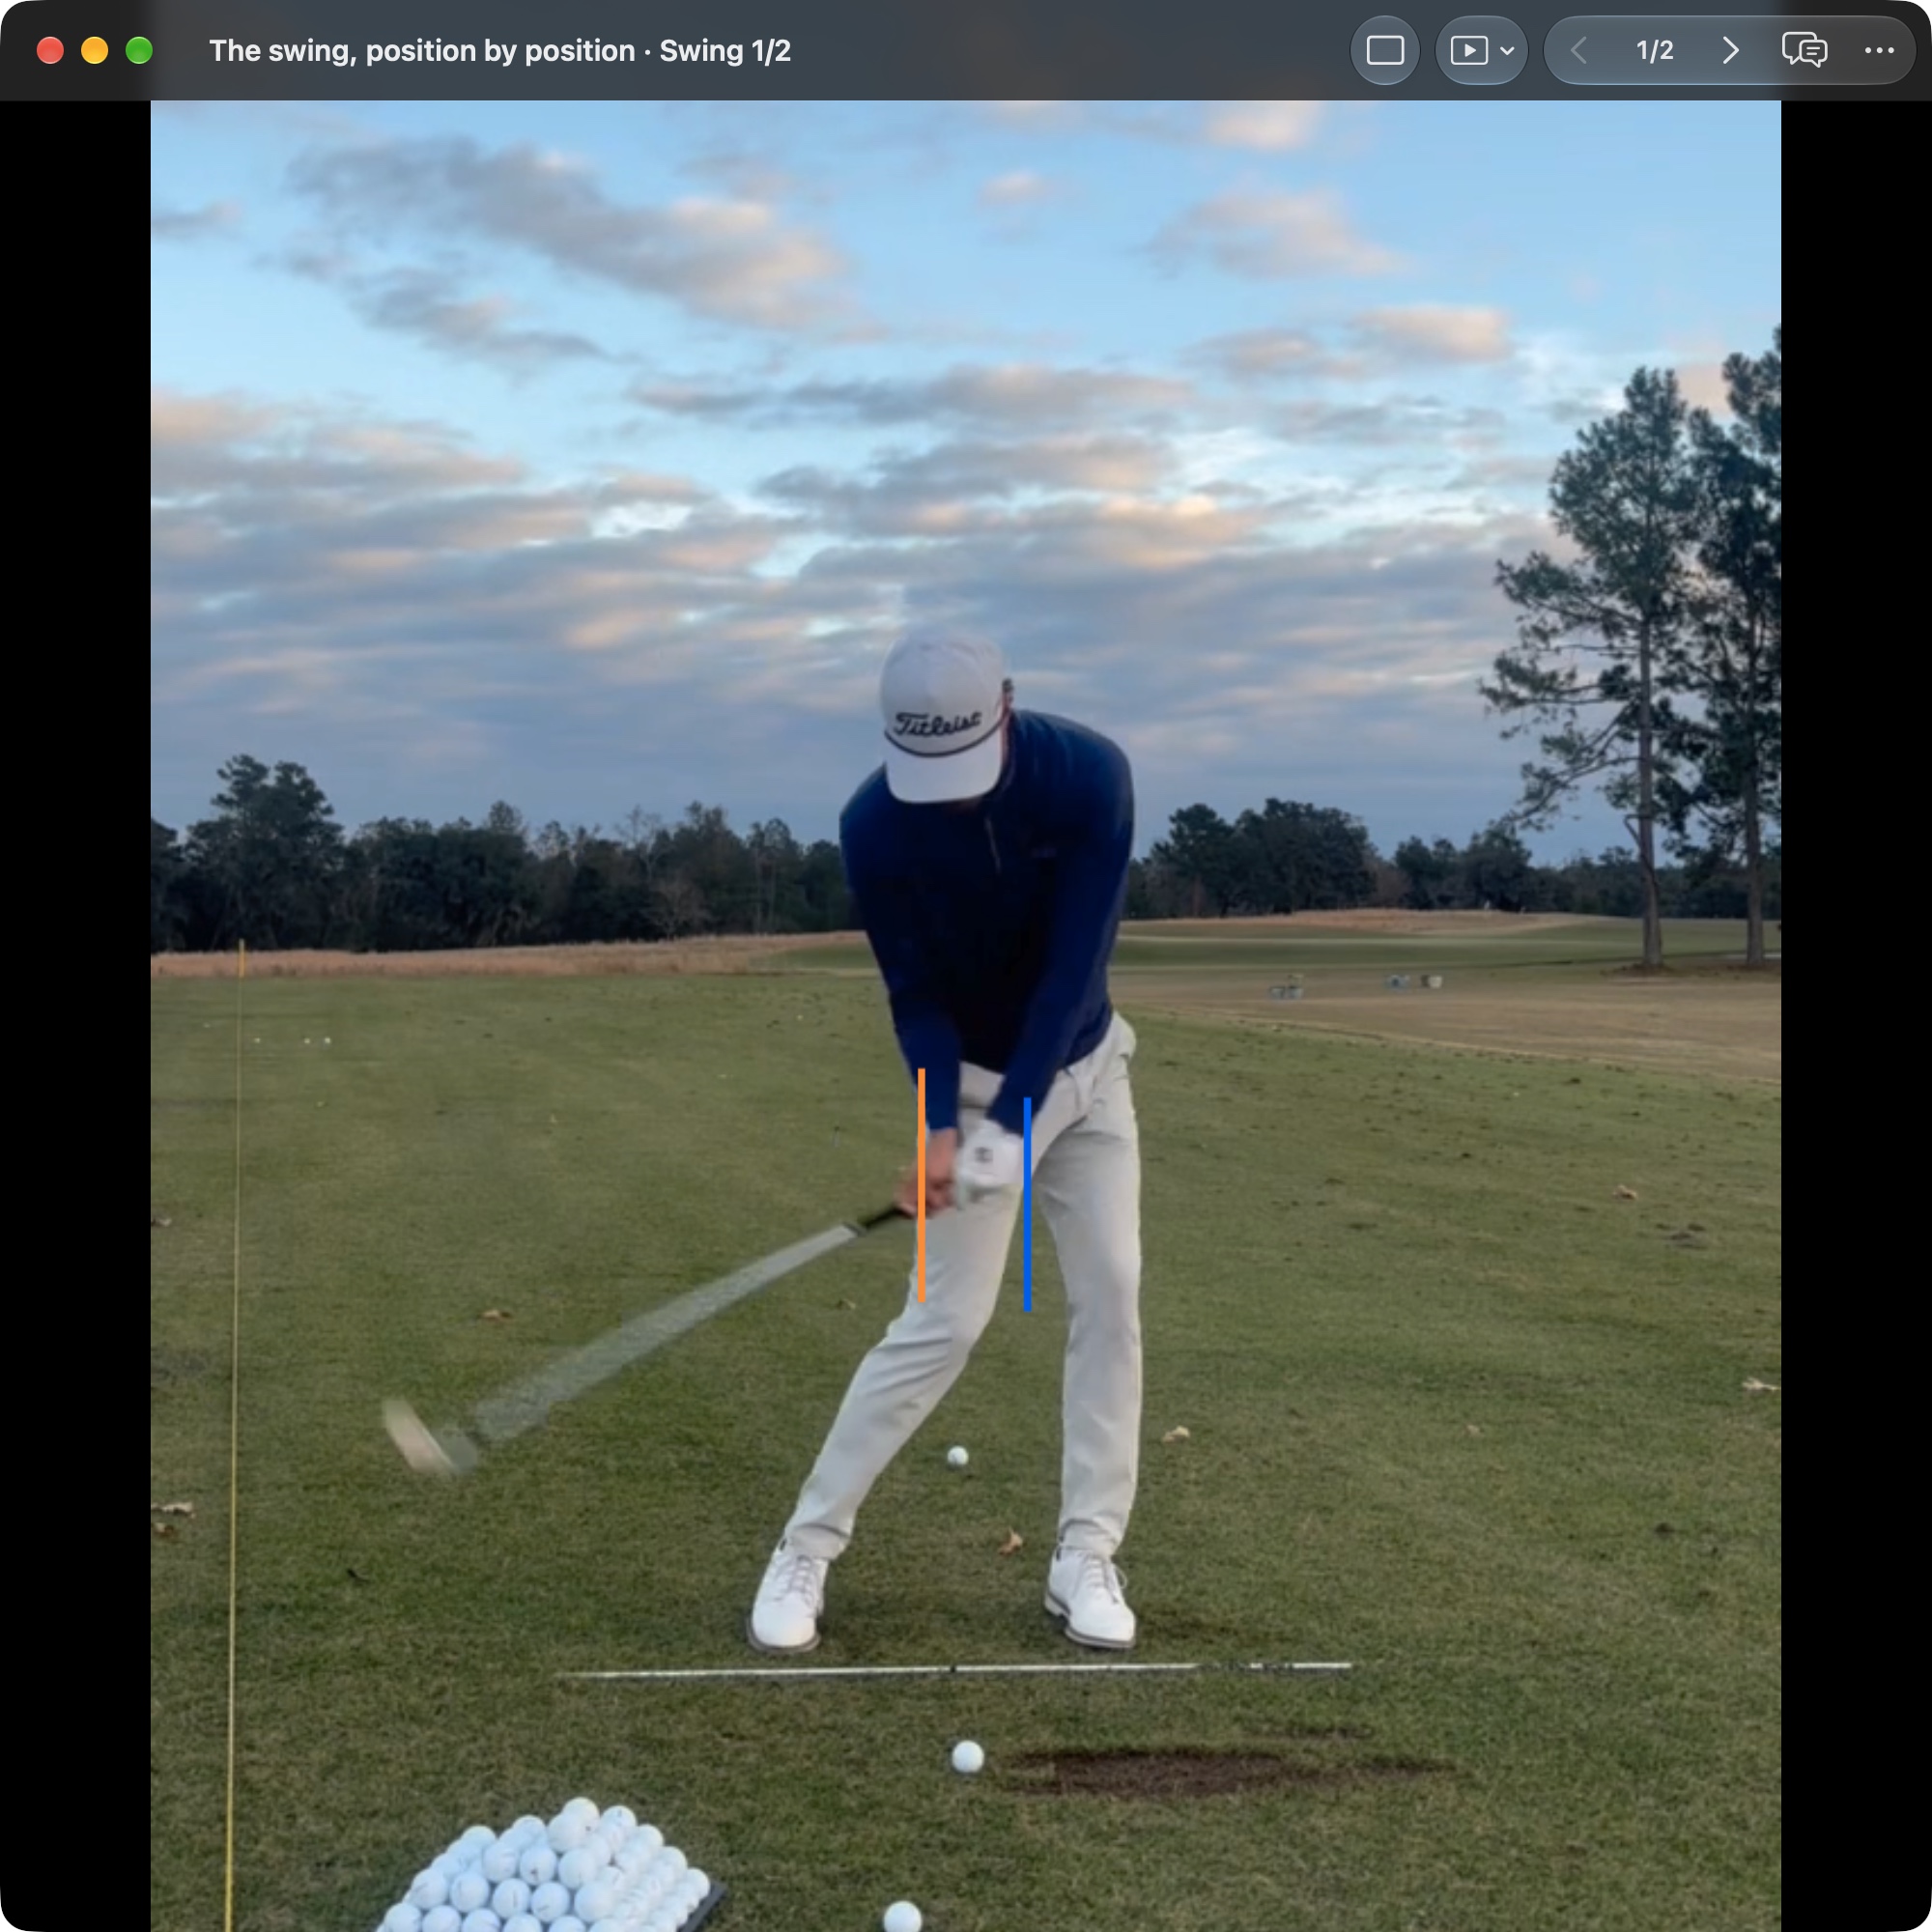
Down-the-line
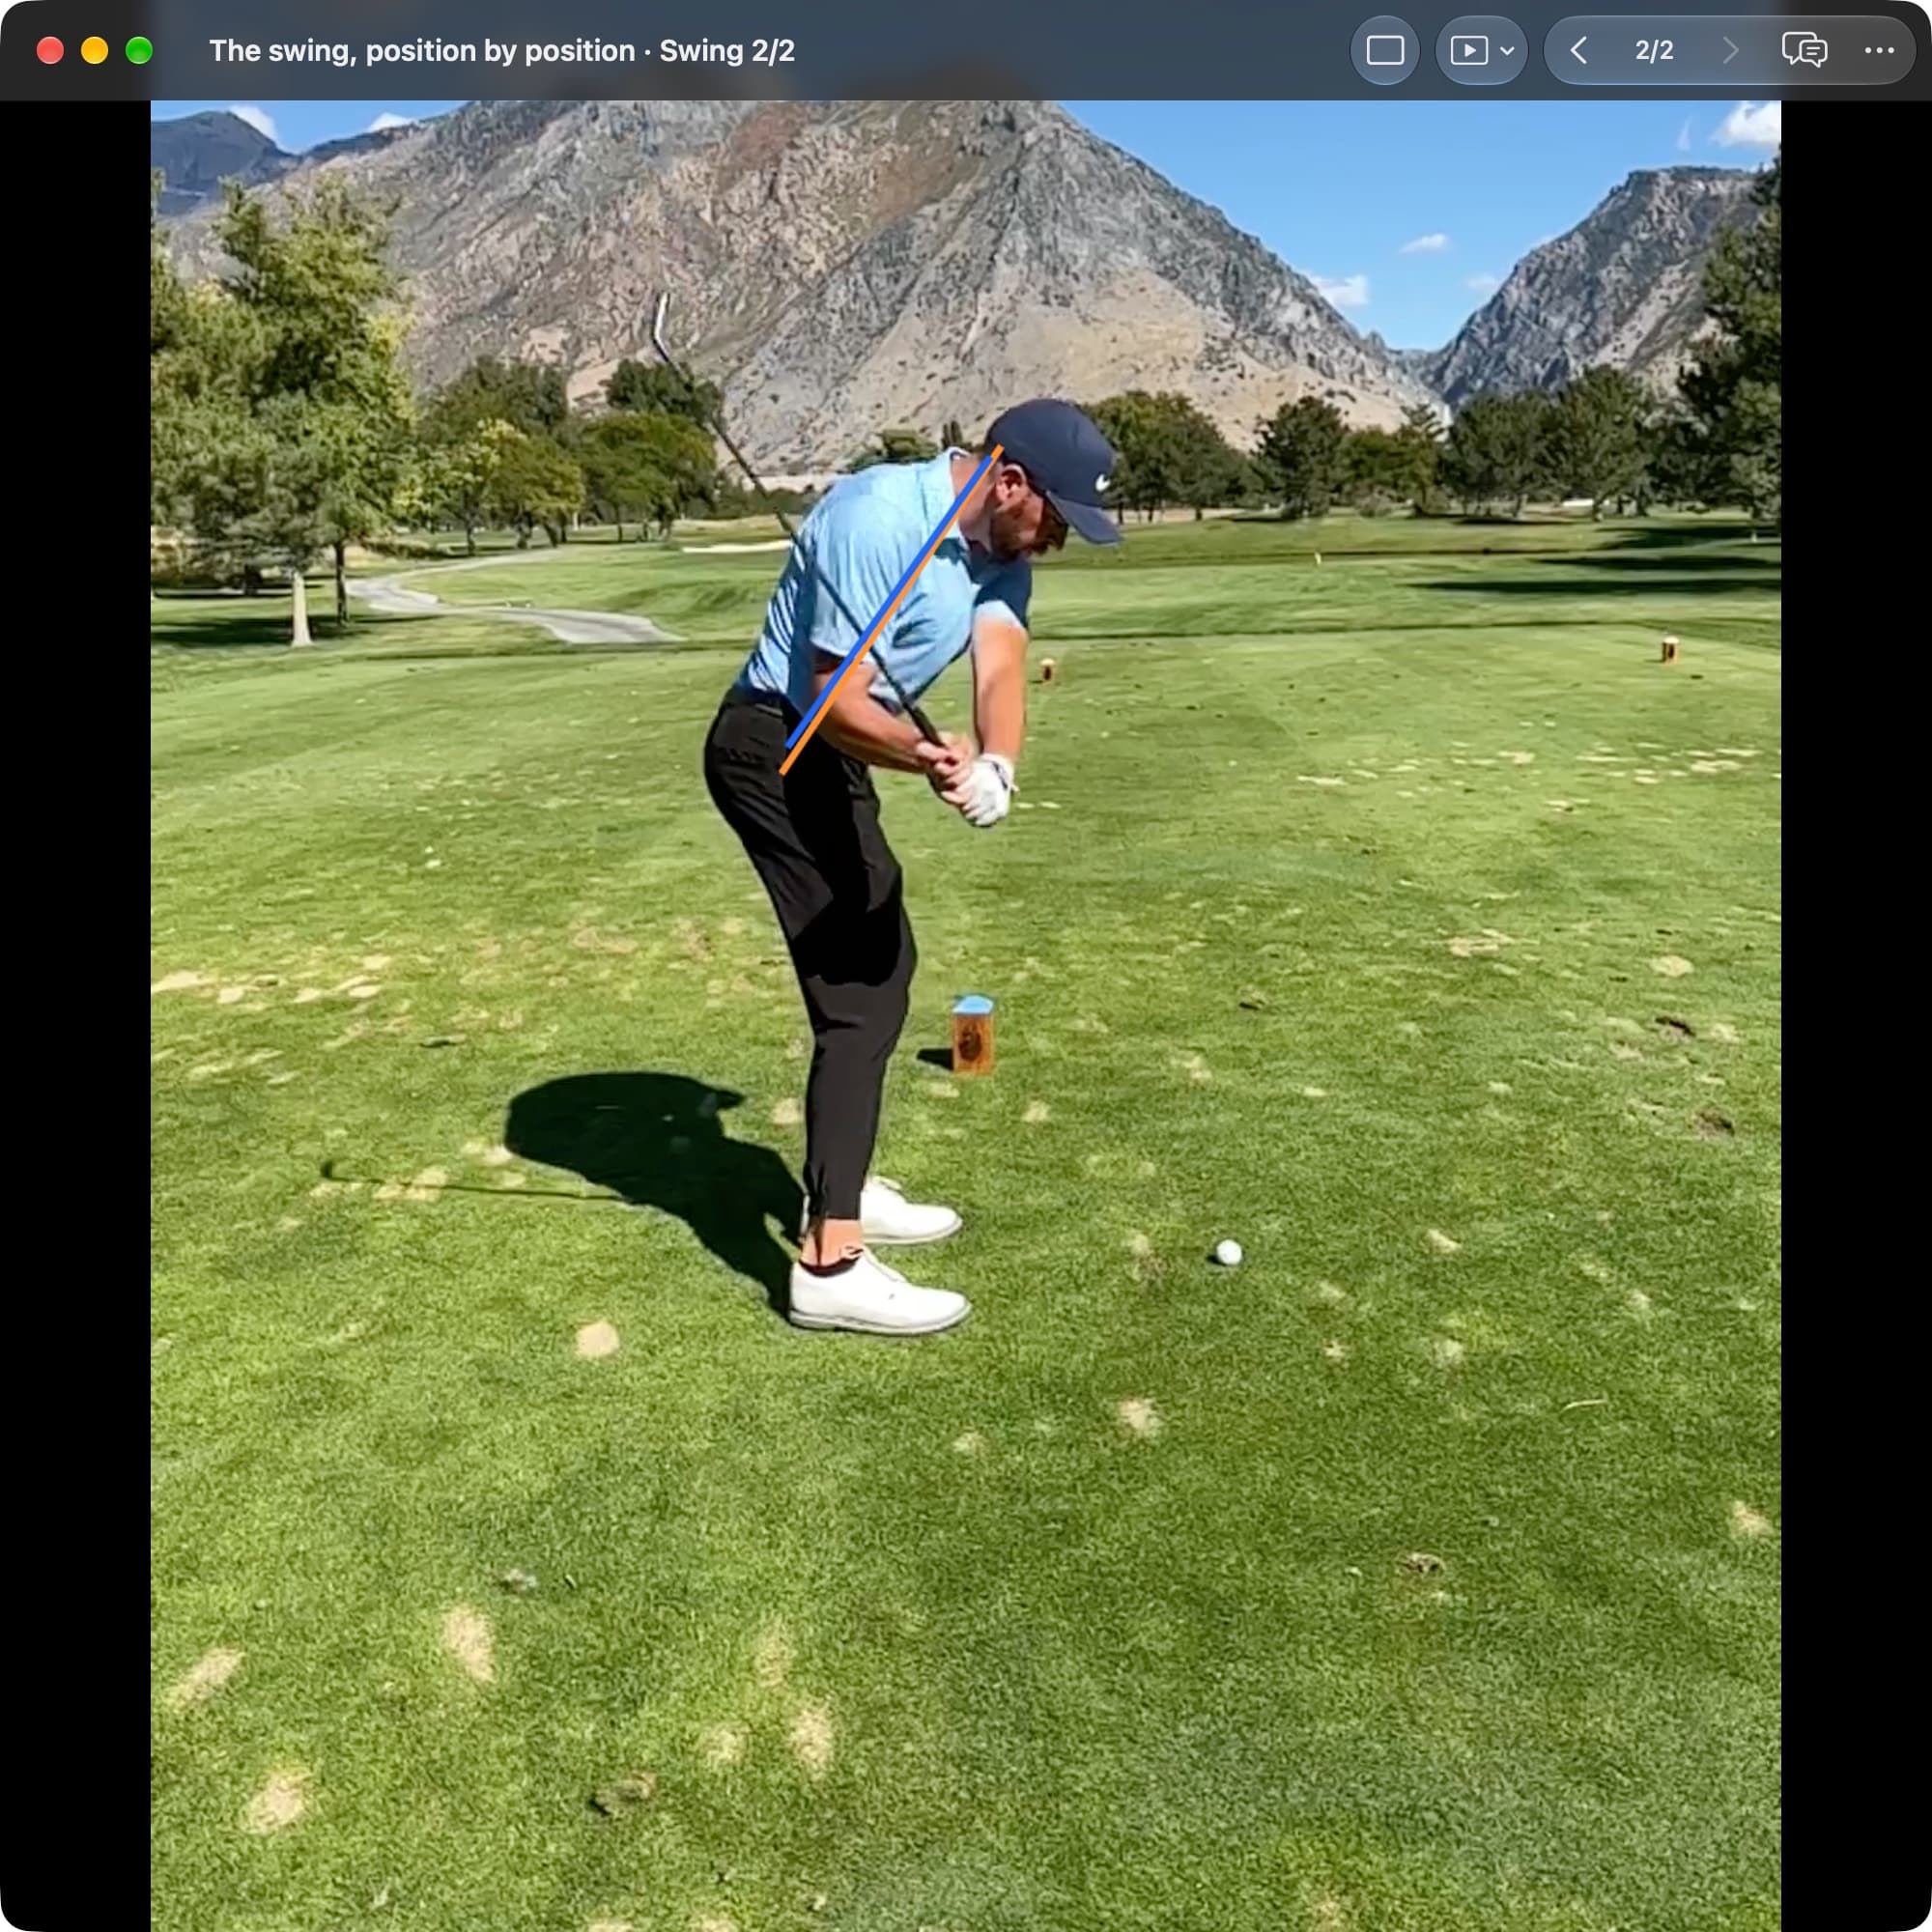
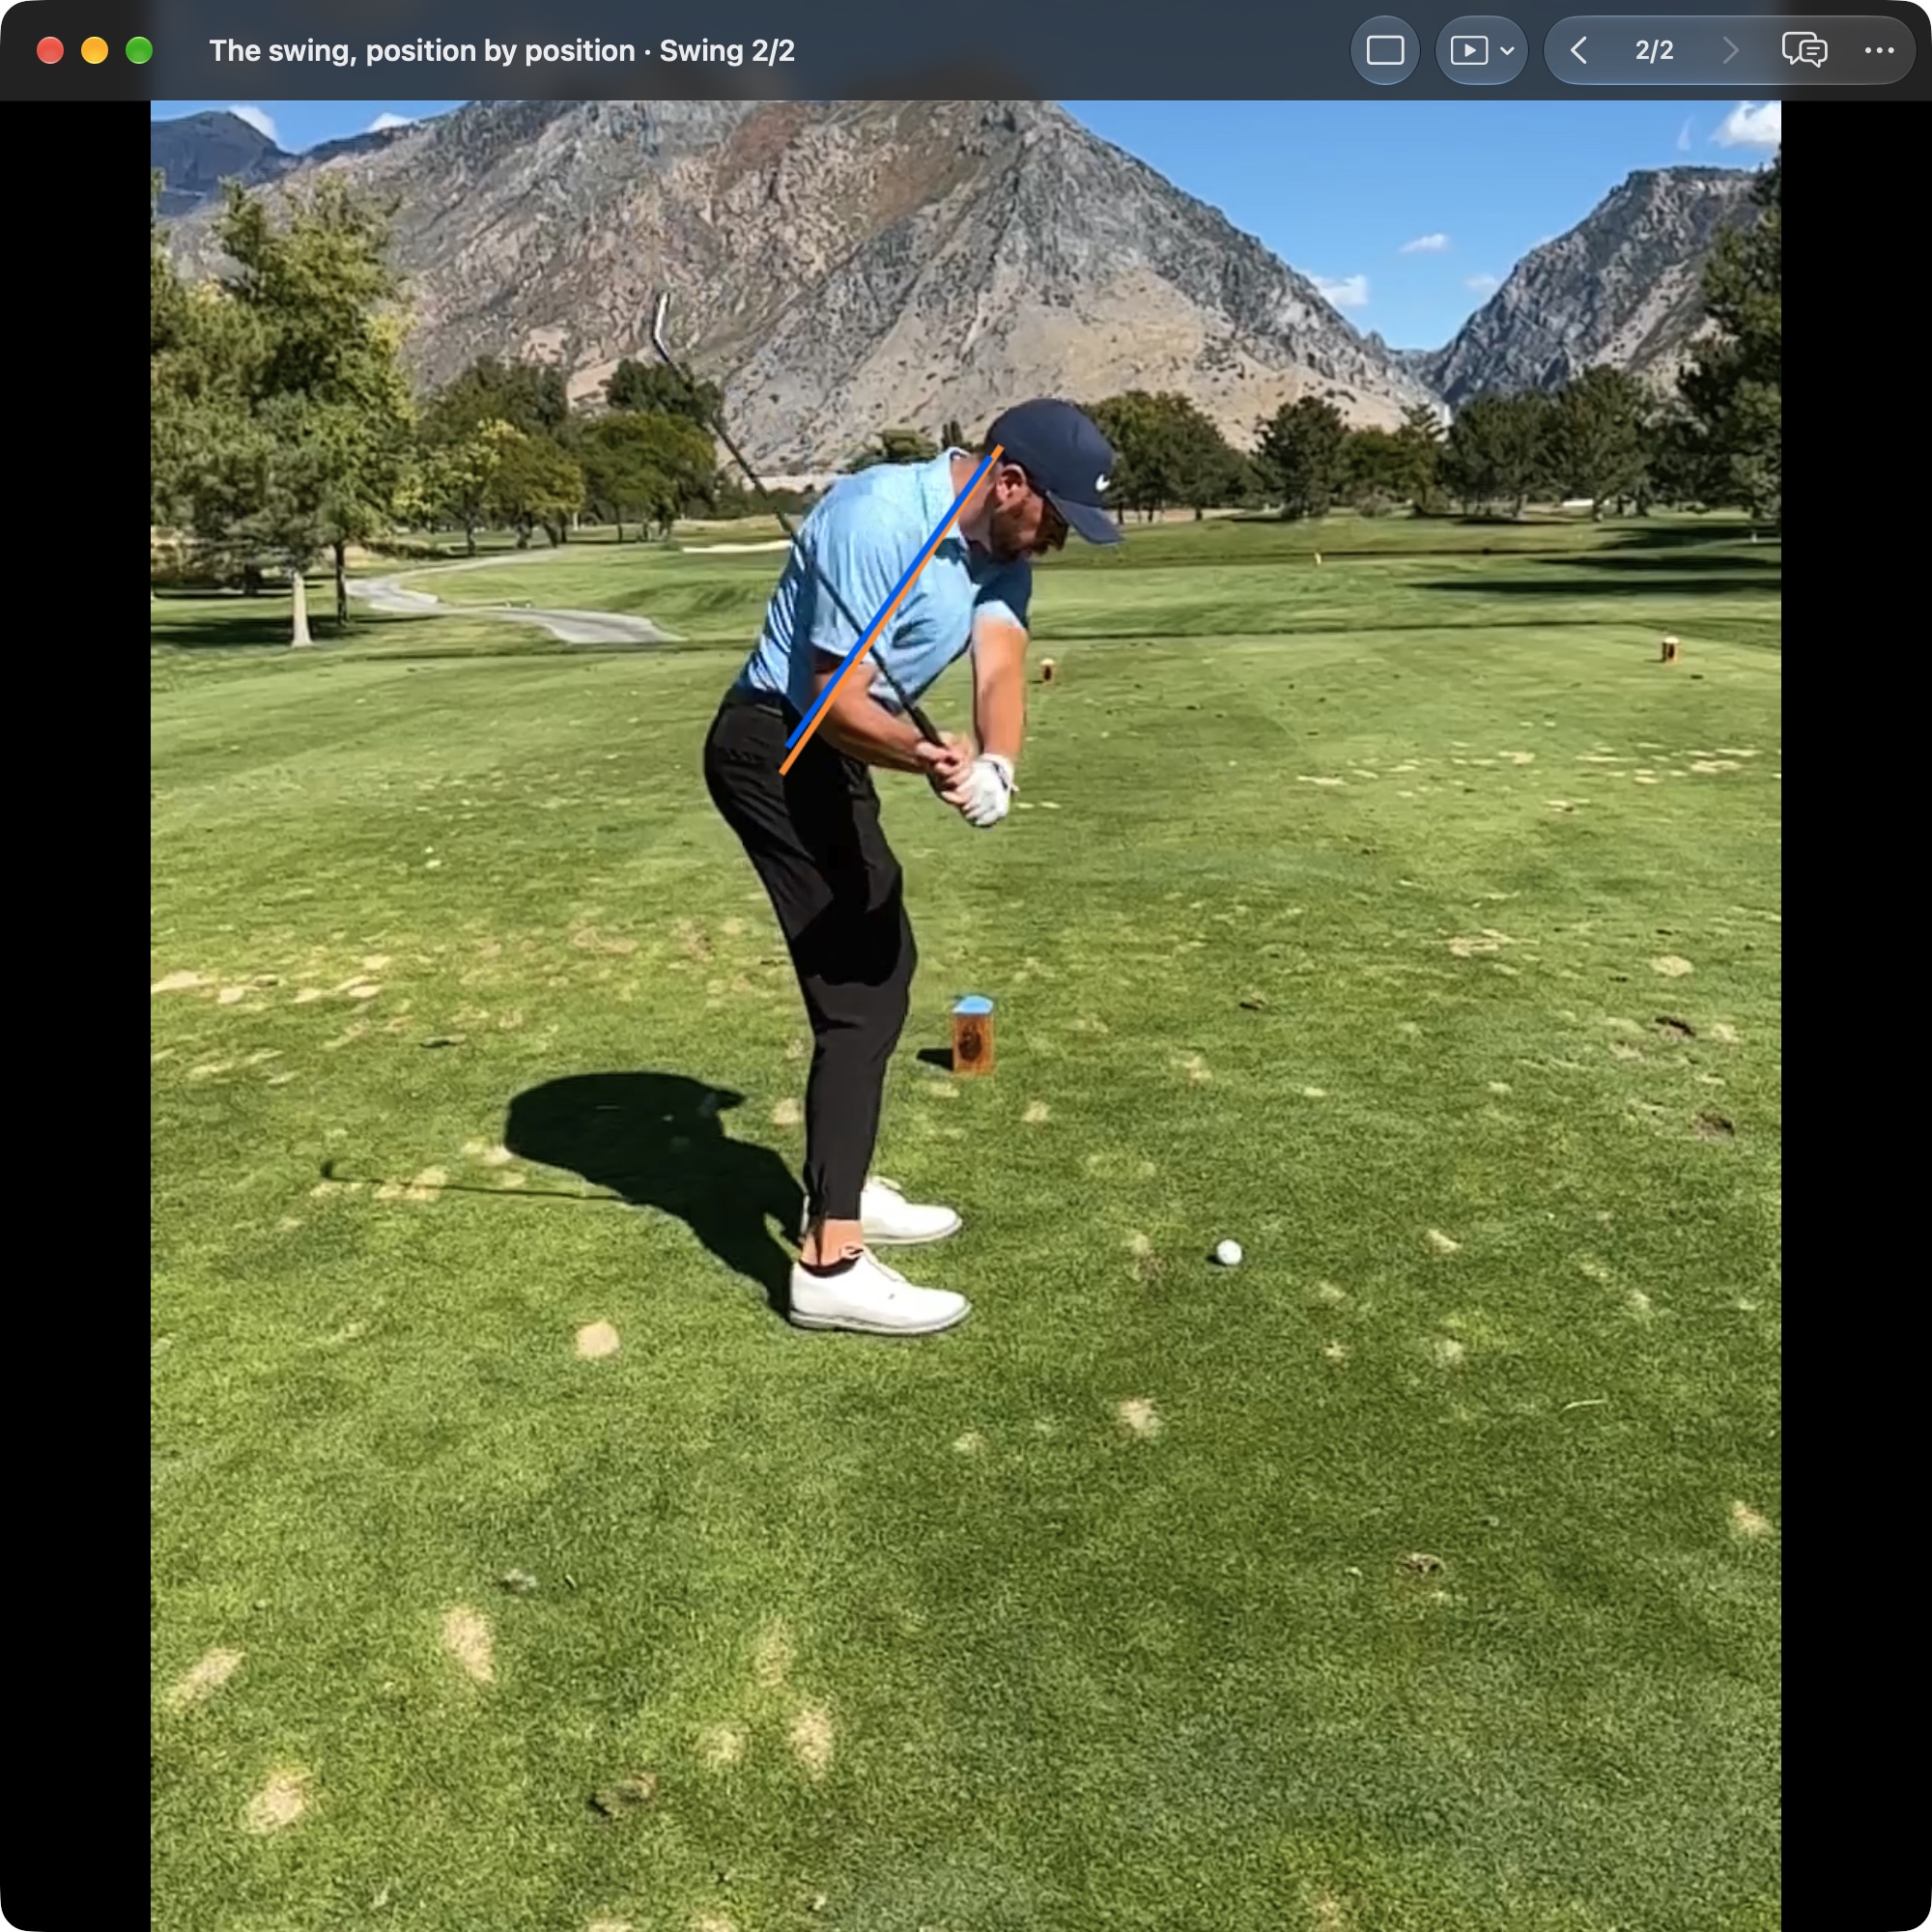
A nearby frame may not show impact itself. Use Pre-Impact to understand the approach, then check Impact and the neighboring frames before drawing conclusions about the strike.
Try this view with your own swing
- Choose the frame. Open the swing in Video Player and use Jump to position to select Pre-Impact. Step a frame either way to see the motion around it.
- Compare with Address. In AI Overlays, turn on both the Setup and Live toggles for Hip Center Line in a face-on recording, or Spine Angle Line in a down-the-line recording.
- Step into contact. Continue frame by frame to Impact and note where the ball is in each frame.
Understanding this position.
The clubhead is moving quickly and the face, shaft, and handle relationship can change substantially between frames. The selected Pre-Impact still is therefore a sample of the approach, not a complete account of the collision that follows.
Face-on is useful for the handle relative to the clubhead. Down-the-line shows the route into the hitting area and the space available for the club. Include the frames immediately before and after, and keep uncertainty explicit when the club is blurred or hidden.
How to read the position.
With a stock mid-iron, the handle commonly leads the clubhead as it approaches impact. That does not mean the wrists should be locked or the handle dragged forward. The club must release and continue through.
A driver or a specialty wedge shot can require a different delivery. Do not use a full-iron picture as the template for every shot. Similarly, a single pre-impact frame cannot establish the exact face angle, attack angle, or low point.
Read each camera view.
Face-on
Look at the handle relative to the clubhead and ball. Compare the sequence, not just the largest apparent lead in one frame.
What this view can show.
- Hands and club
- Look at the handle relative to the clubhead and ball. Compare the sequence, not just the largest apparent lead in one frame.
- Wrist and clubface
- The release is in progress. The wrist picture must be interpreted with the grip and visible clubface rather than graded as flat, cupped, or bowed in isolation.
- Shaft orientation
- Note the shaft approaching the ball. If it is blurred or partly out of frame, avoid inventing an angle from the visible fragments.
- Pelvis and space
- Observe the pelvis position and turn relative to the stance. A useful shift does not require the entire upper body to pass the ball.
- Chest and shoulders
- Some upper-body tilt away from the target can remain. Its meaning depends on the club and intended delivery, particularly with a teed driver.
- Body rotation
- The pelvis and chest are continuing through the motion. This frame cannot establish that one segment has stalled or reached its speed peak.
- Feet and balance
- Visible foot position can support a balance observation. It cannot establish the percentage of pressure beneath the lead foot at this instant.
Video shows foot movement and balance, not pressure distribution or ground-reaction force.
Down-the-line
Look for room between the handle, body, and ball. A crowded approach should be followed through impact before assigning a cause.
What this view can show.
- Hands and club
- Look for room between the handle, body, and ball. A crowded approach should be followed through impact before assigning a cause.
- Wrist and clubface
- The exact face direction is often unreadable here. A visible toe or leading edge is limited evidence, not a substitute for measured delivery data.
- Shaft orientation
- Follow the clubhead toward the ball across nearby frames. A two-dimensional route should not be reported as a measured horizontal path or attack angle.
- Pelvis and space
- Compare the back of the pelvis with Address while accounting for the turn. A large move toward the ball may reduce space for delivery.
- Chest and shoulders
- Observe whether changes in height and bend leave room for the strike. Rising is not automatically a fault; impact need not reproduce address posture.
- Body rotation
- Chest and pelvis orientations provide context for the approach. Avoid imposing a fixed amount of separation as a requirement.
- Feet and balance
- Check obvious balance changes, but do not infer pressure from heel height. Ground forces and their timing require information beyond this picture.
Video shows foot movement and balance, not pressure distribution or ground-reaction force.
Use Pre-Impact to form a question, then check it against Impact, Follow-Through, and the shot result. For example, apparent early overtaking of the handle should be considered with the strike and intended loft.
Compare similar shots with the club visible. If the relevant part is blurred, say the frame cannot answer the question. A representative sequence is more useful than selecting a sharp frame that happened earlier and treating it as the collision moment.
Watch these clips.
Use these demonstrations to put the still into motion. Each video opens at the selected starting point and continues playing; the note below explains its relevance to this position.
The casting examples help identify release timing before the ball. Follow the sequence into contact instead of grading one apparent angle.
The impact rehearsal offers a way to inspect delivery. Compare the intended shot and surrounding motion rather than assuming all effective swings reach an identical still.
The explanation connects the handle and clubhead near the strike. Keep the release moving rather than treating the demonstration as a position to hold.