
1 of 10
Address.
Address is the starting setup before the club moves. Use it to establish the intended shot and camera references, not to prescribe one body shape for every golfer.
By Dwain Kinghorn · Updated
A teed driver commonly uses a more forward ball position and a different stance from a mid-iron. Judge that setup for the intended driver shot.
Read the setup from both sides.
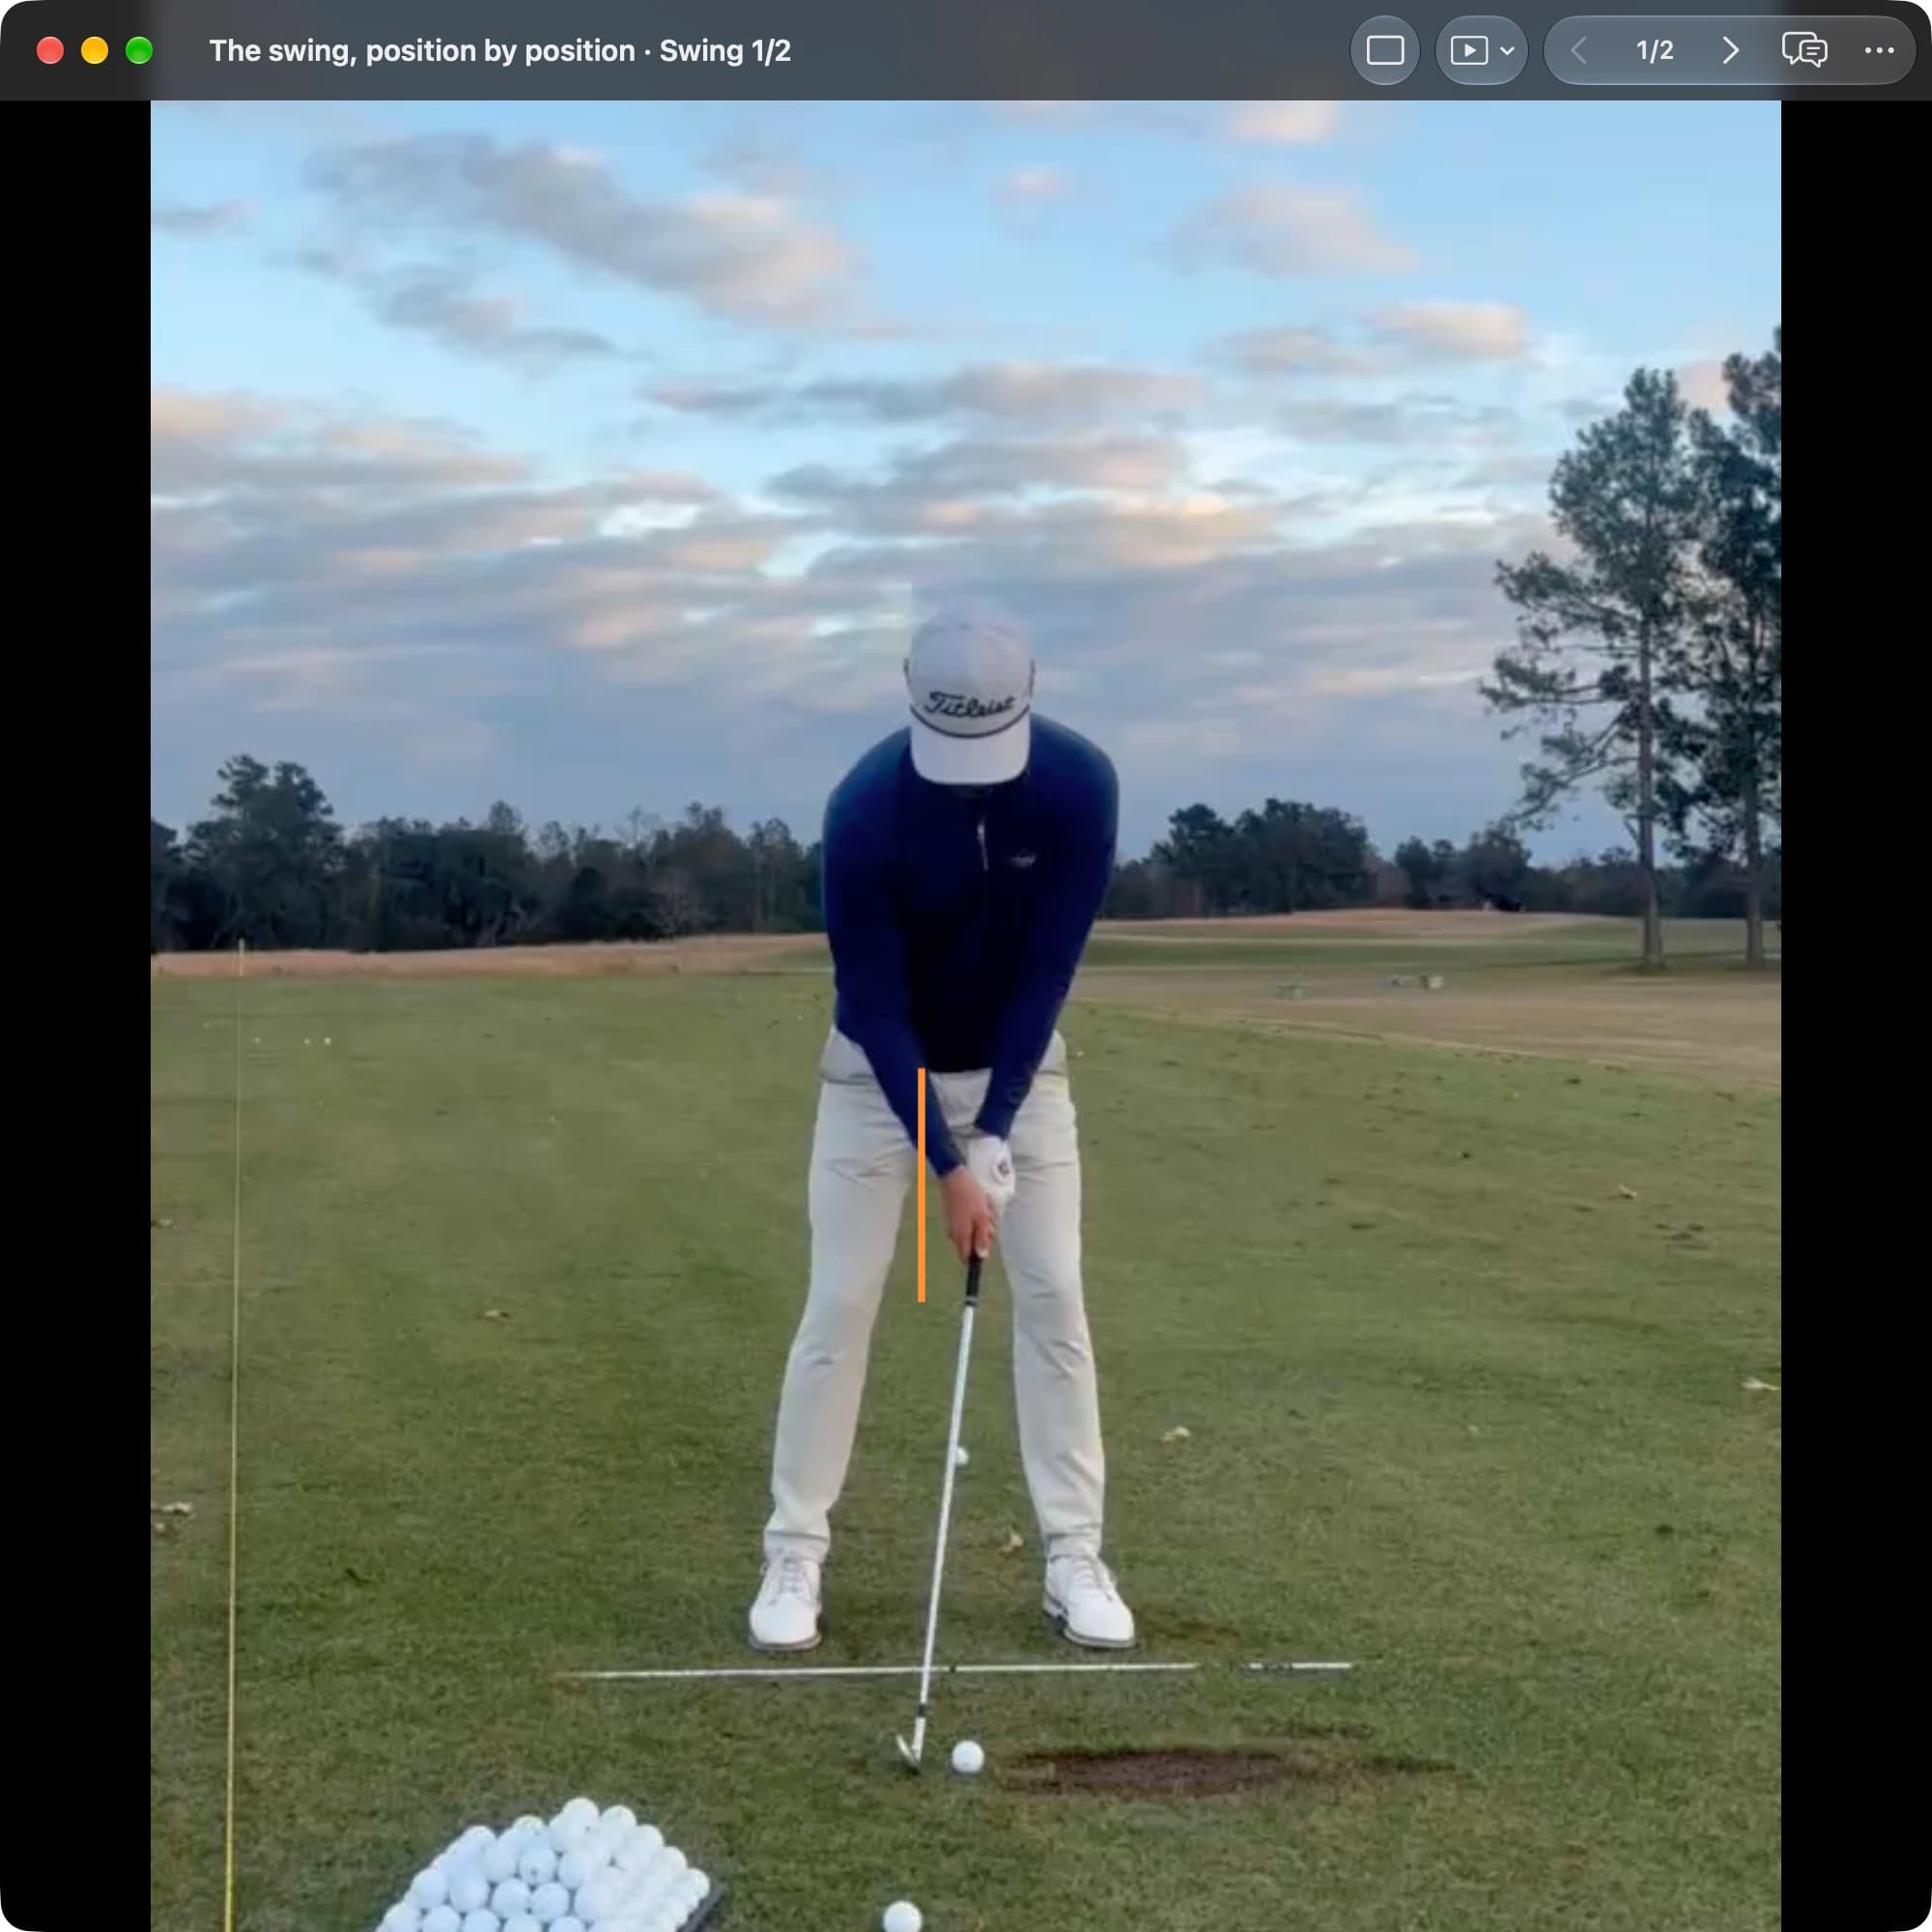
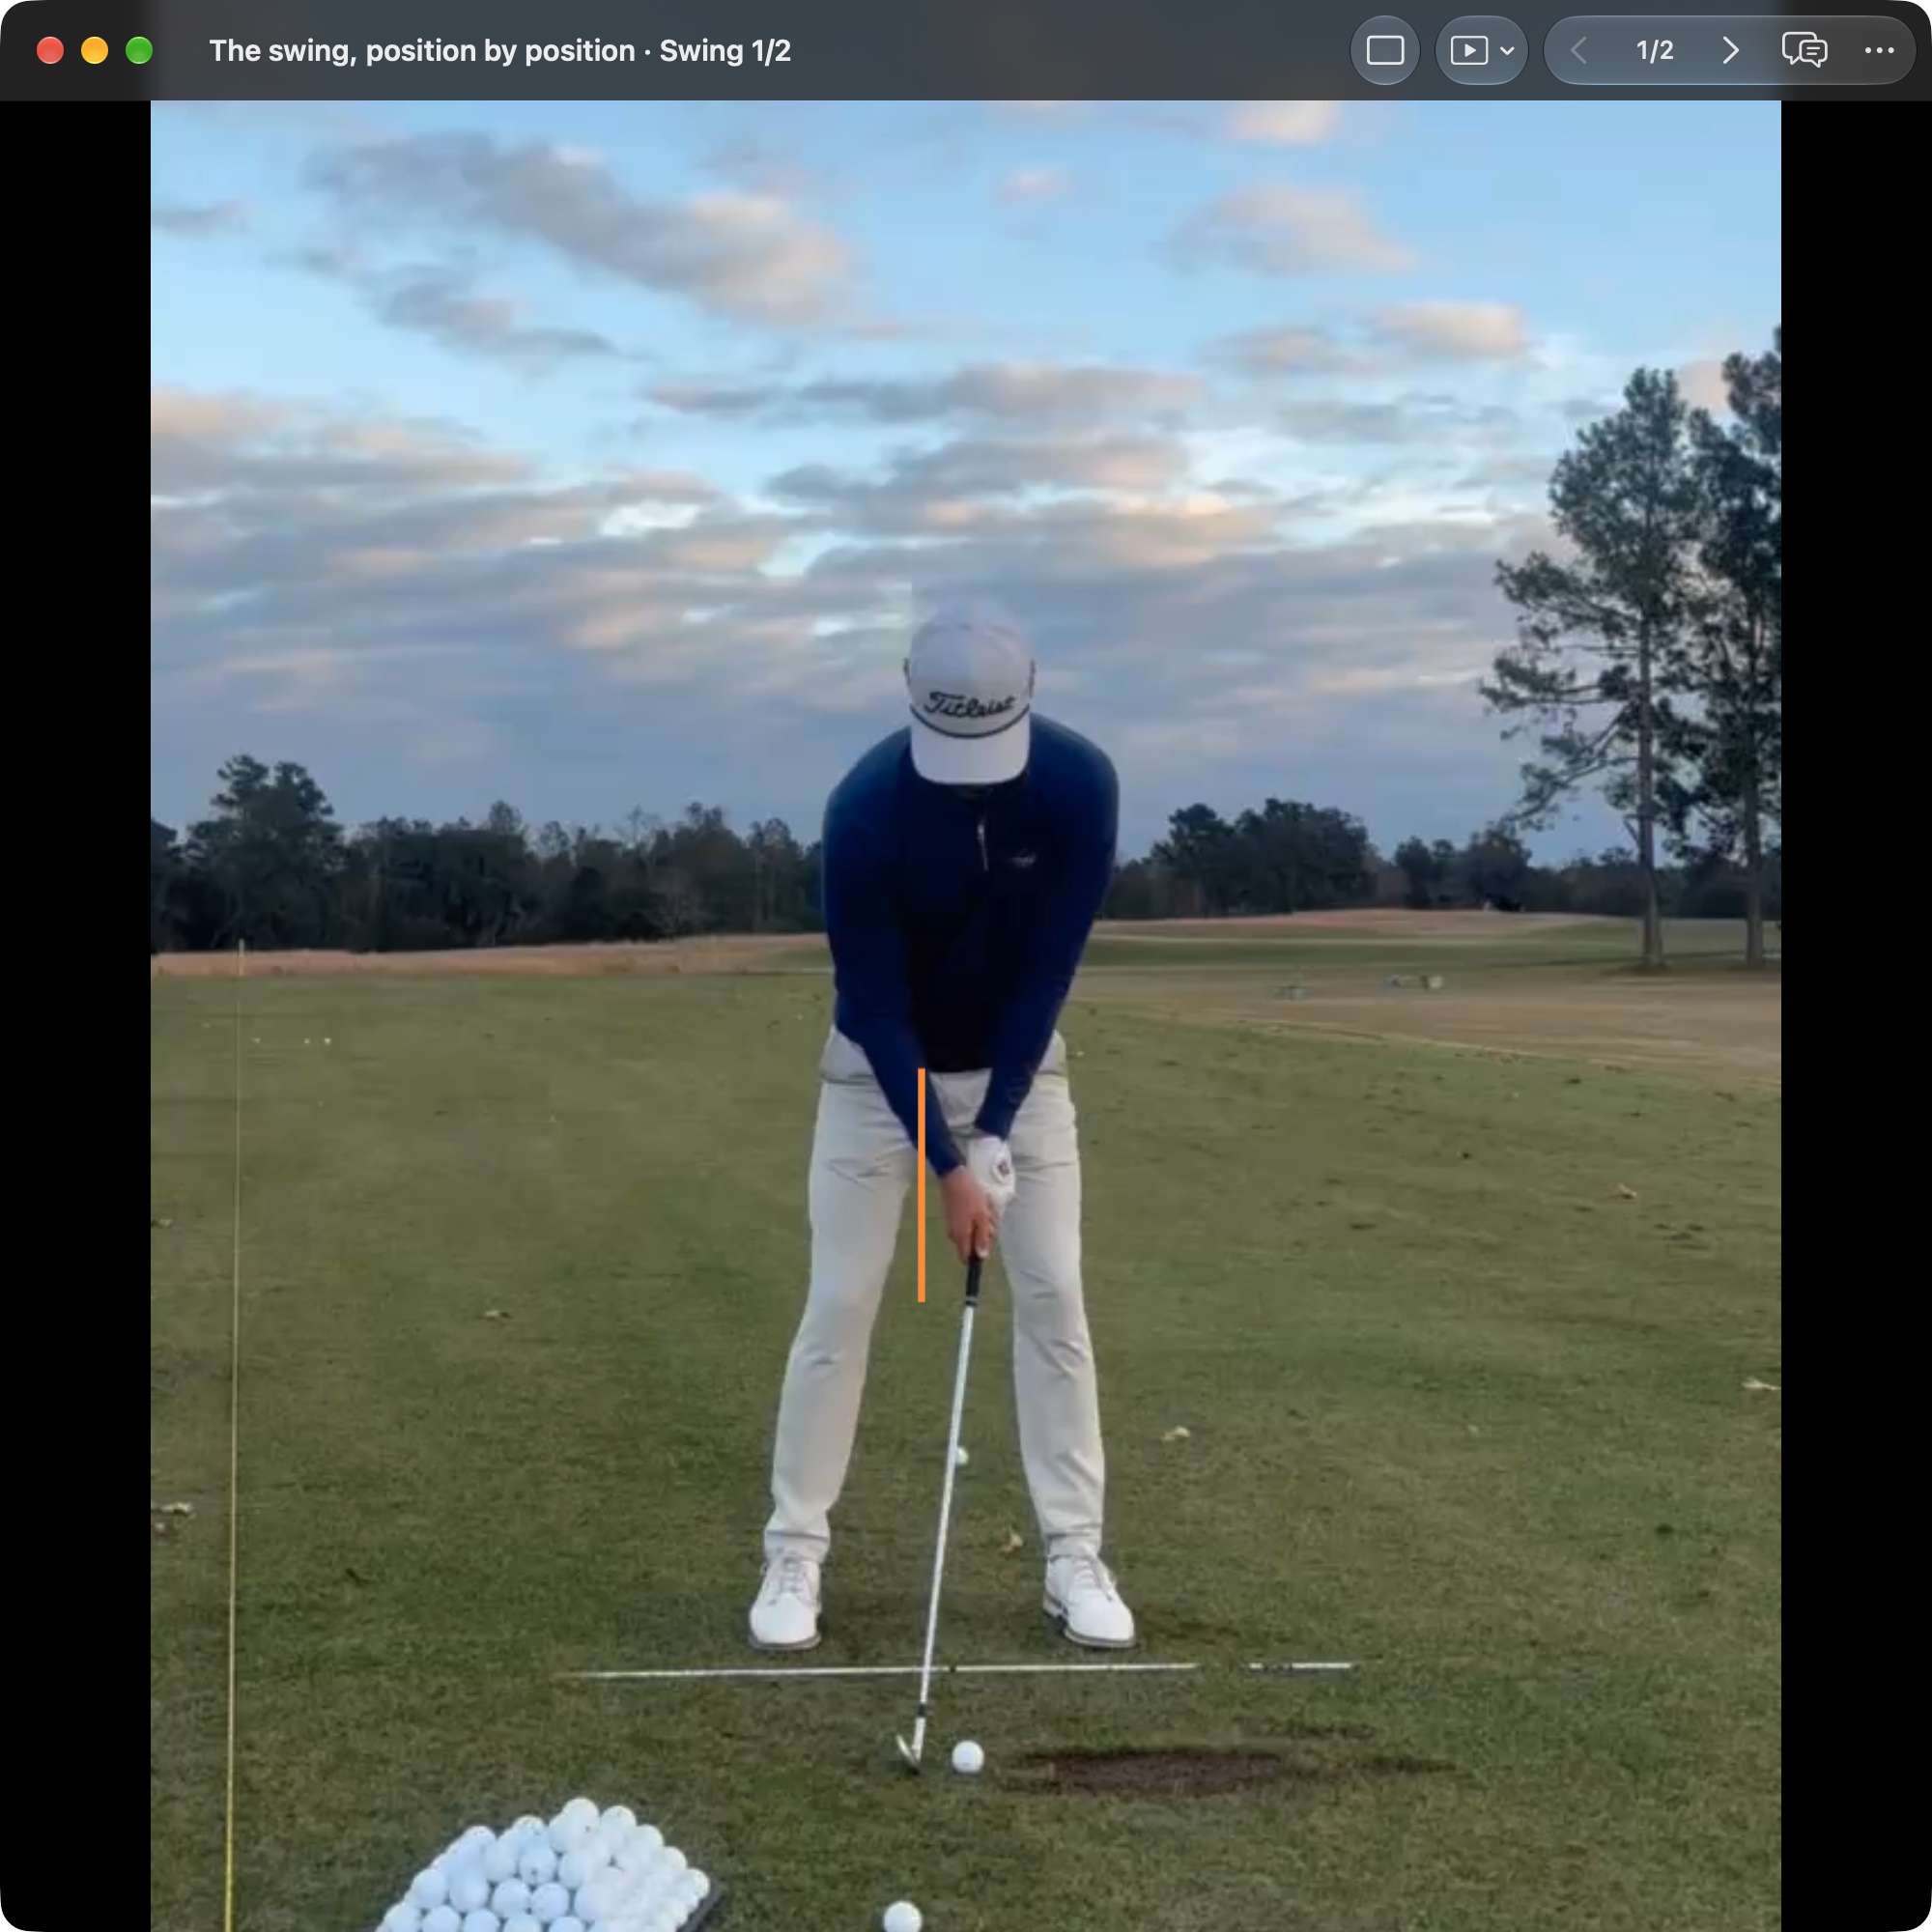
Two golfers at Address with an iron, just before the club moves. The face-on and down-the-line views answer different questions, so read each one on its own before comparing.
Face-on
Down-the-line
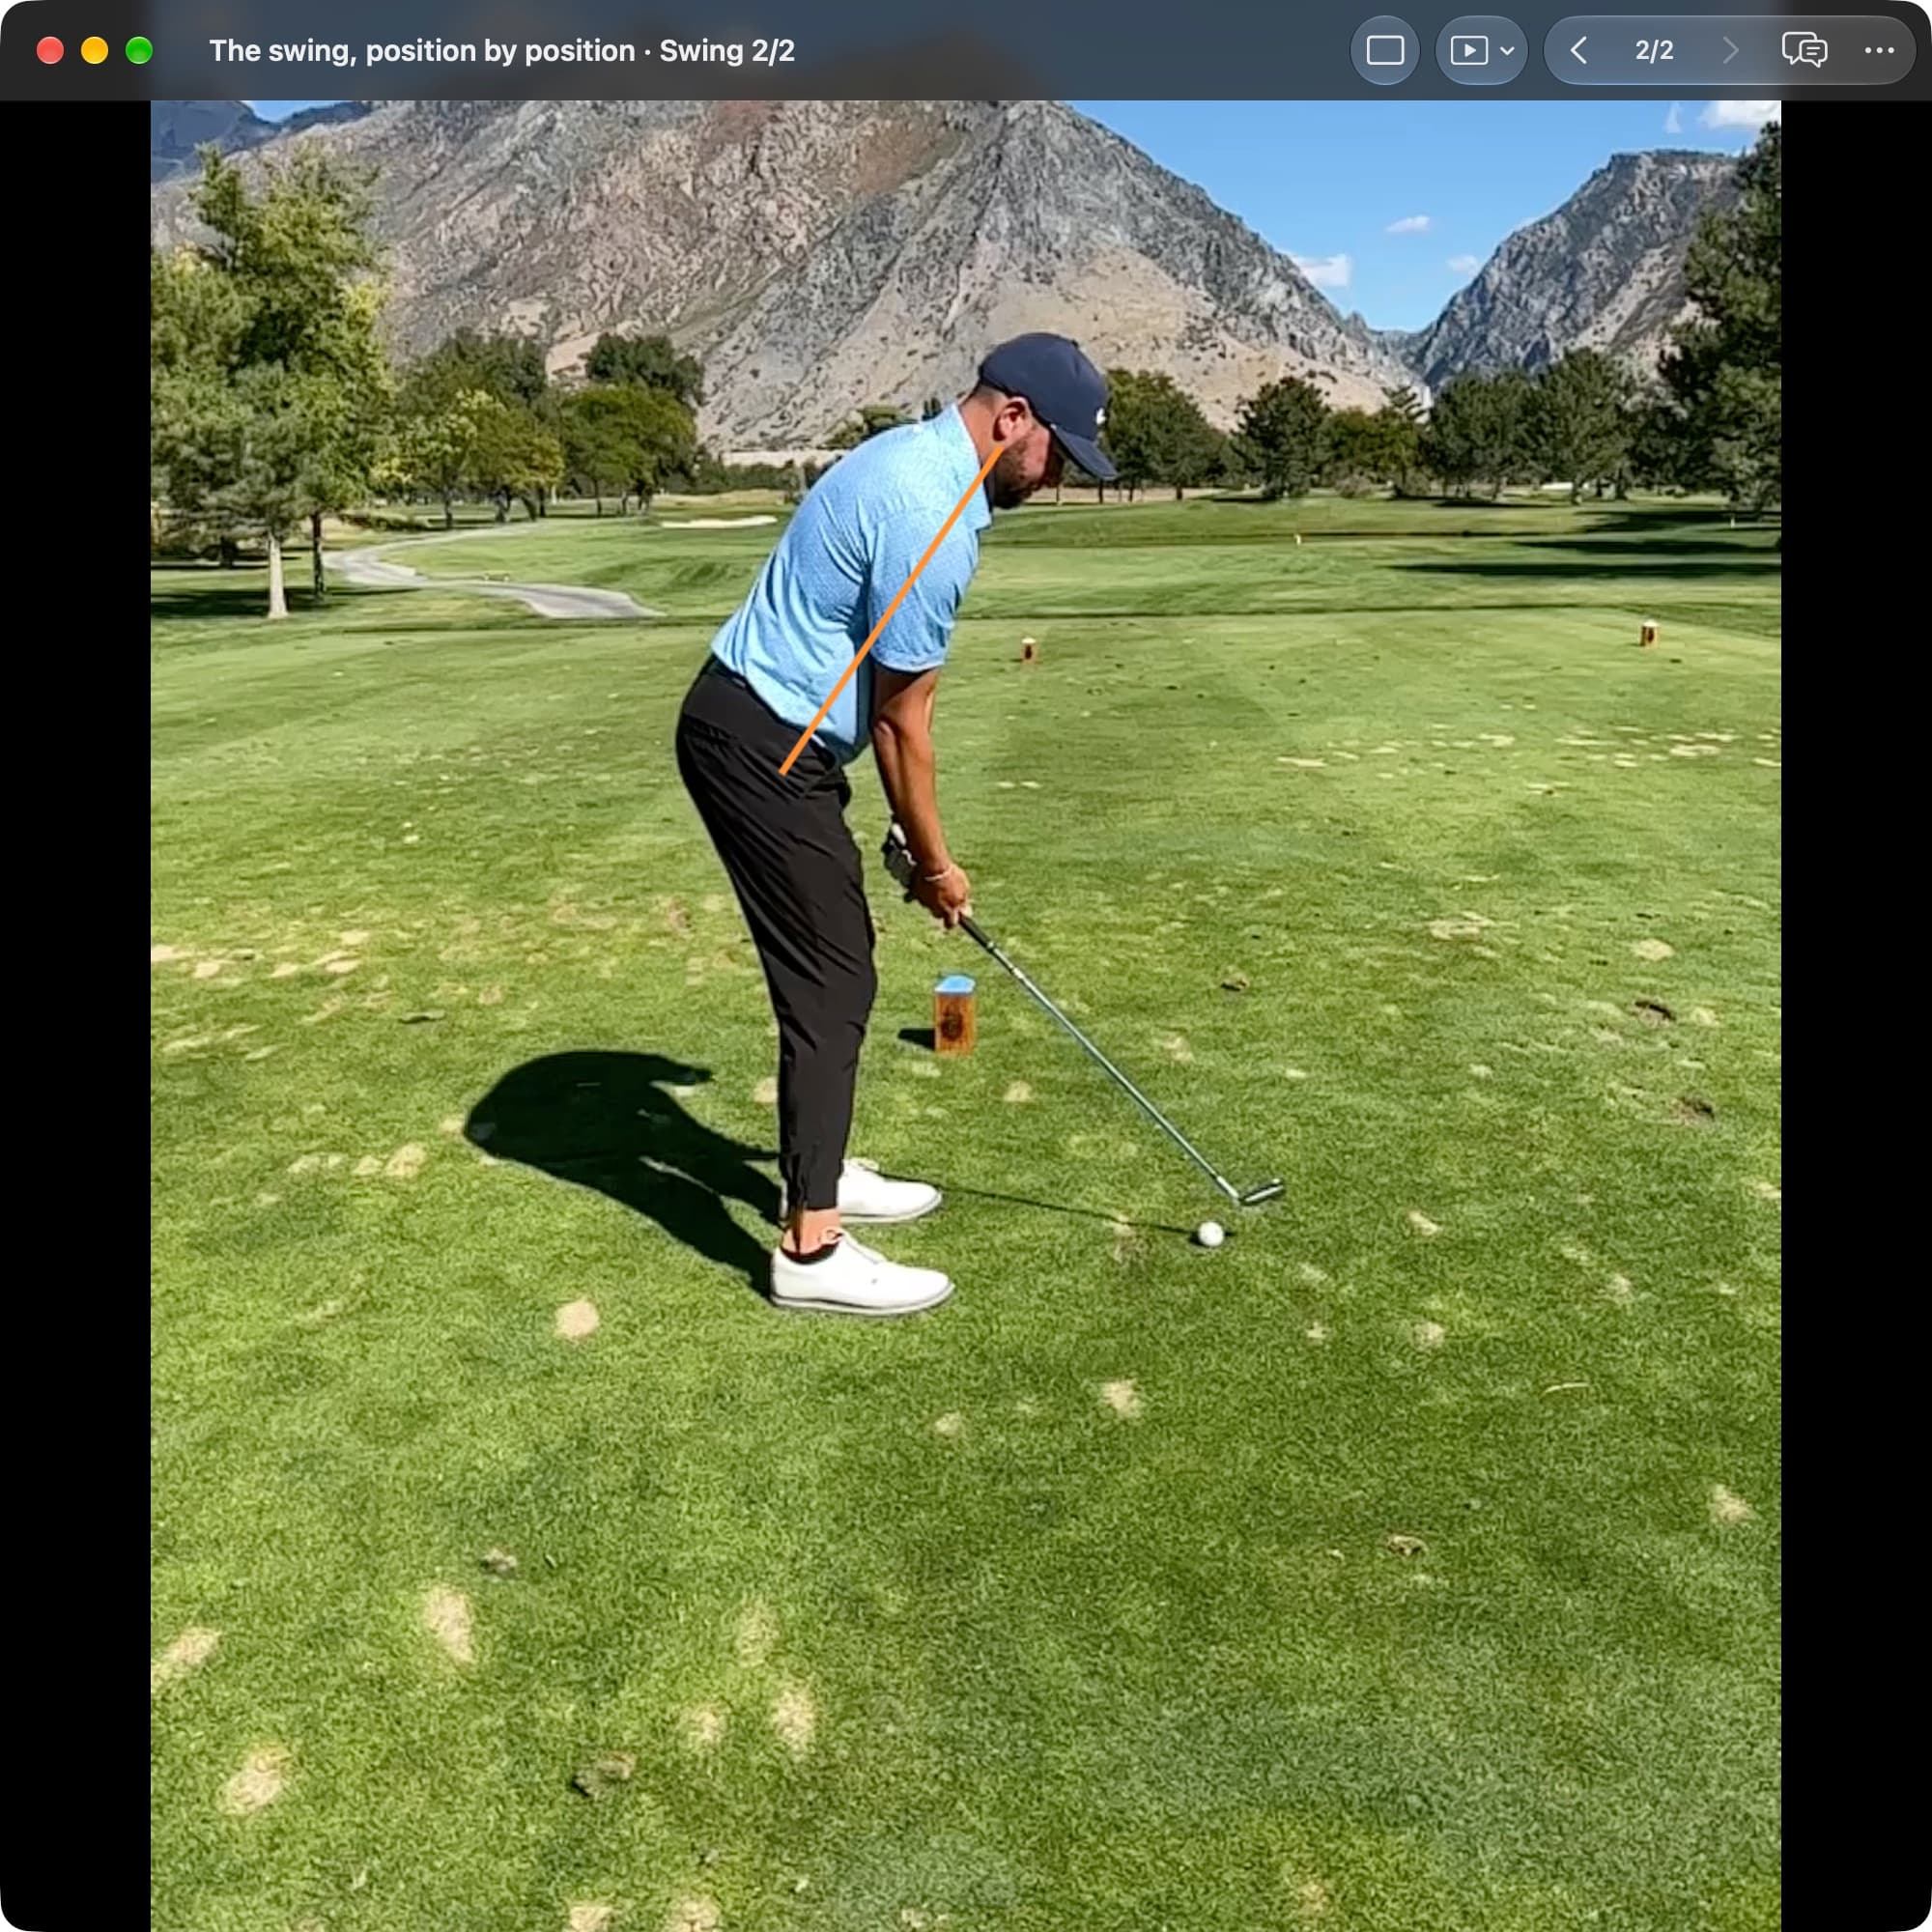
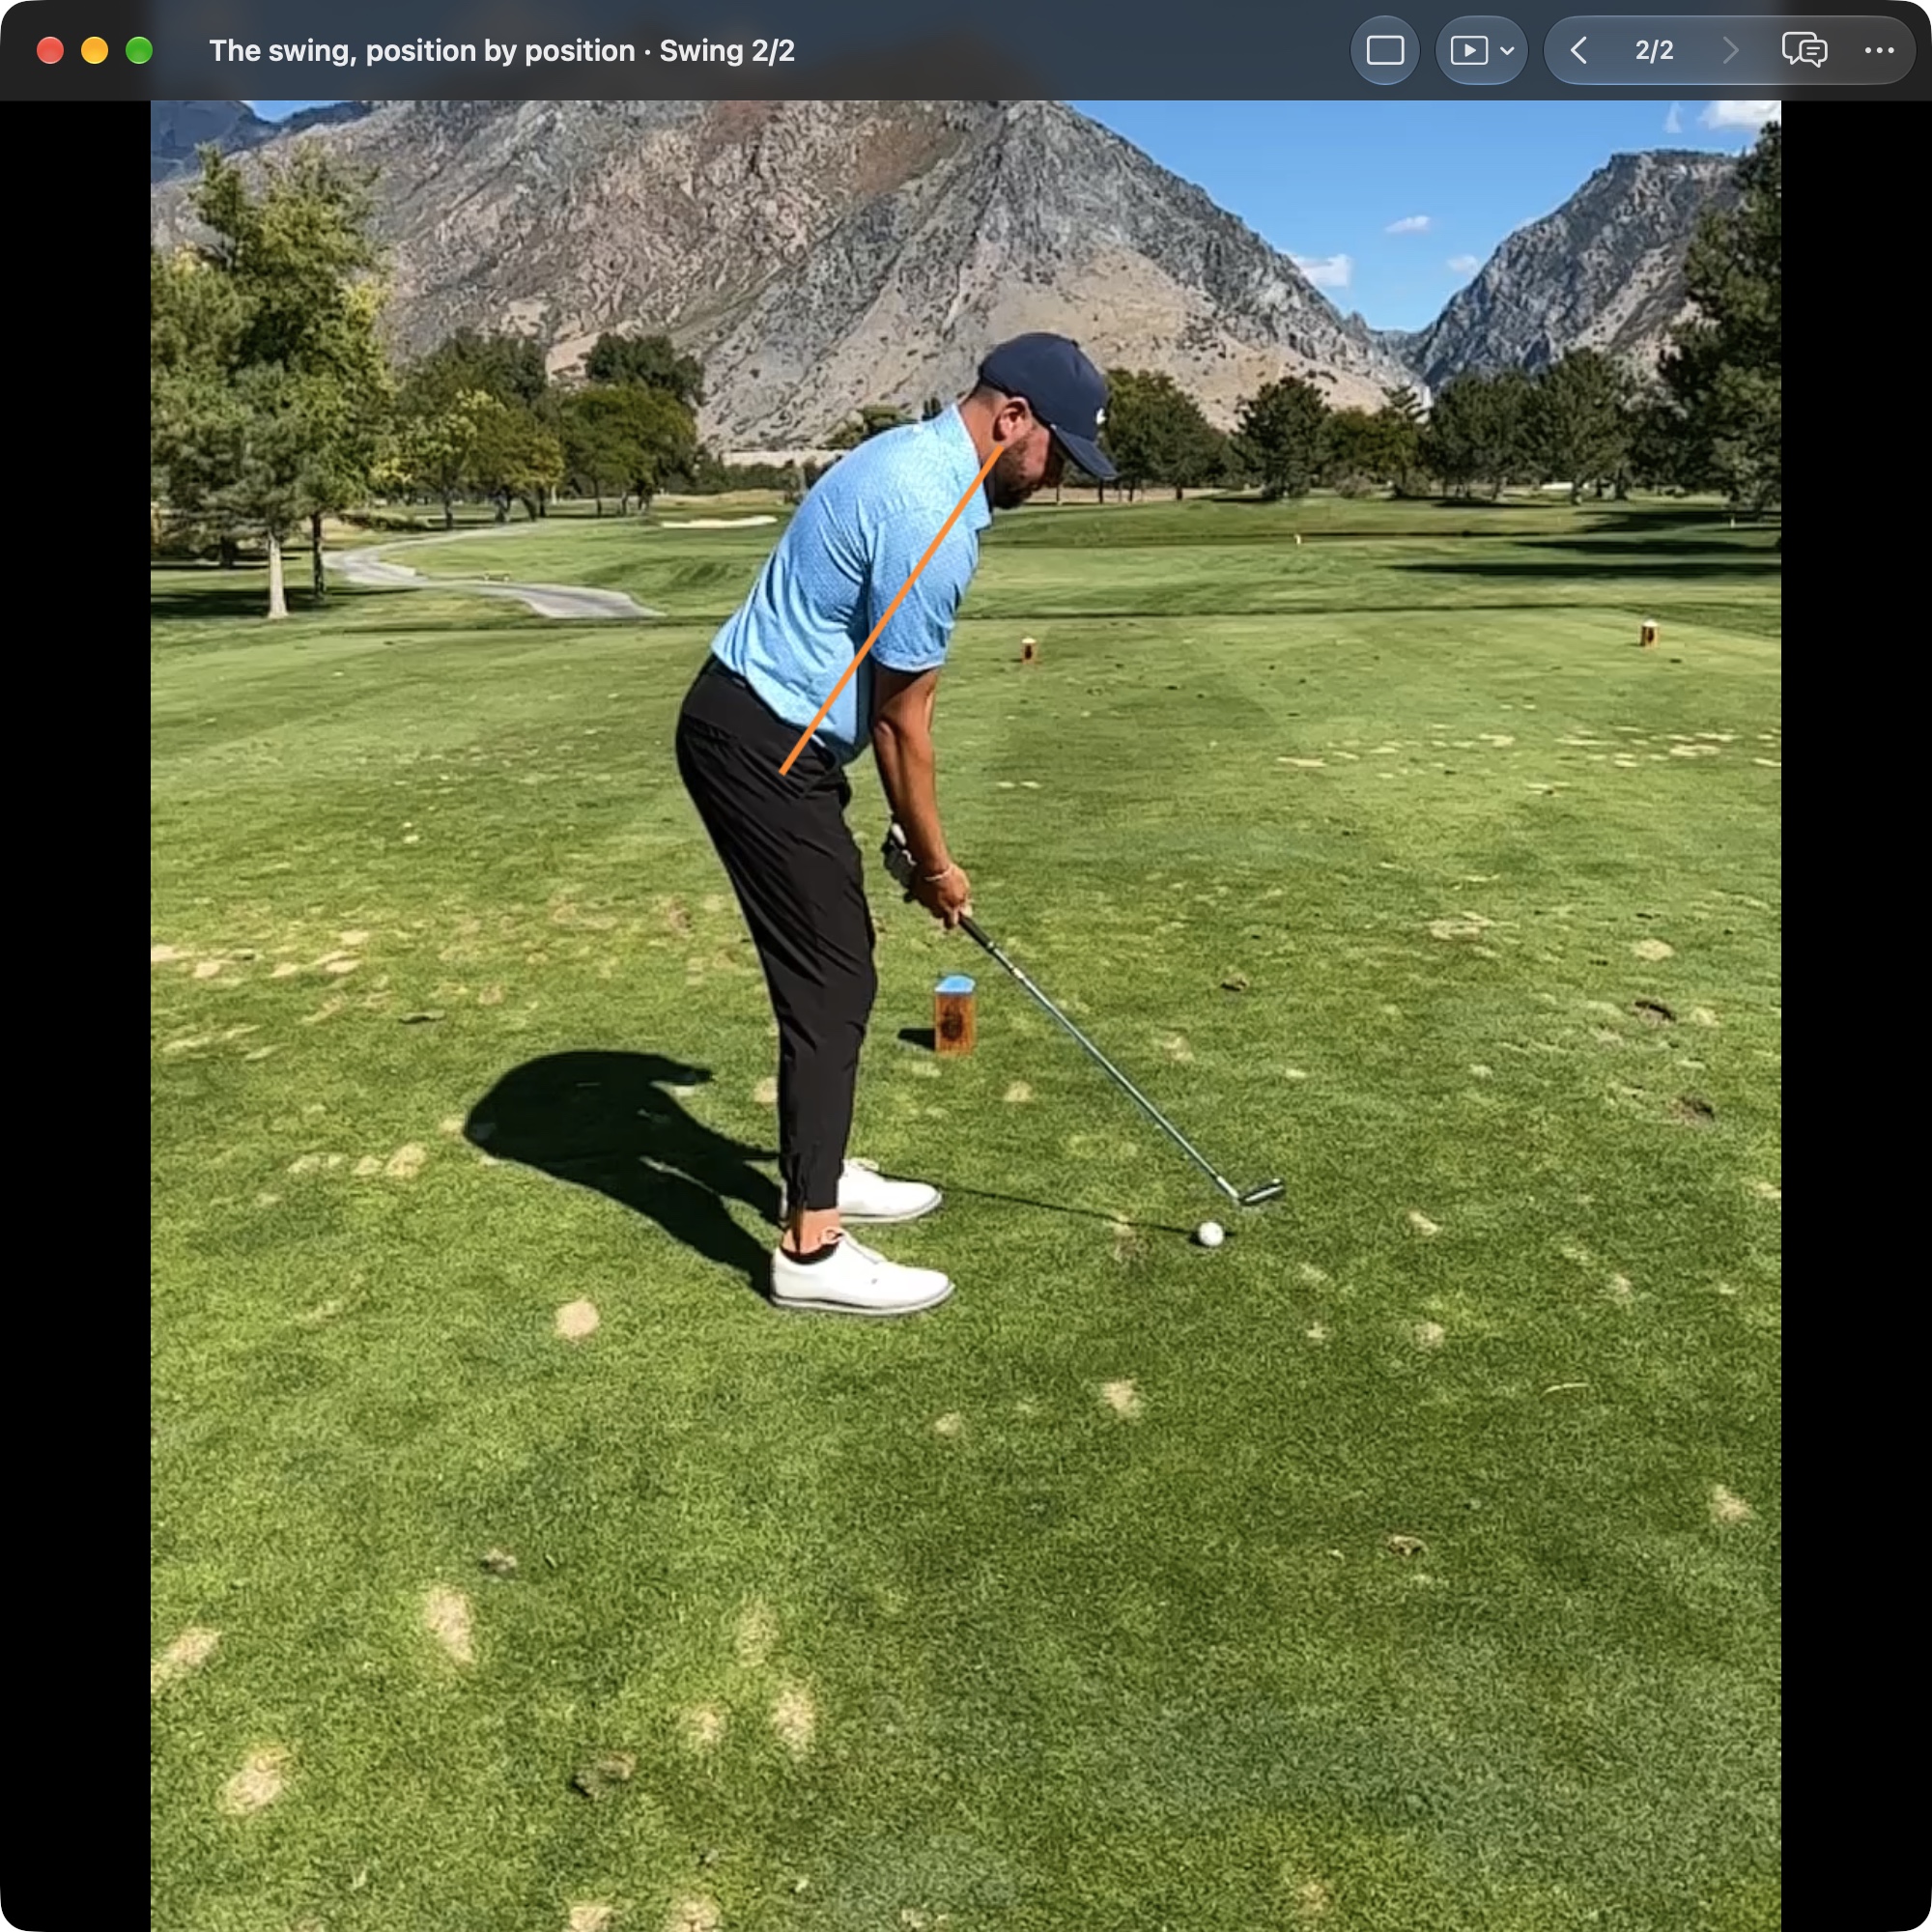
Neither image is a shape to copy. Address sets the references that later frames are read against: ball position, handle position, torso bend, and distance from the ball. Your proportions, club, and intended shot can reasonably change the picture.
Try this view with your own swing
- Choose the frame. Open the swing in Video Player and use Jump to position to select Setup. Step a frame either way to confirm the club has settled and has not started back.
- Add one reference line. In AI Overlays, turn on the Setup toggle for Hip Center Line in a face-on recording, or for Spine Angle Line in a down-the-line recording. Setup lines stay where they were at Address as you move through the swing.
- Compare like with like. Keep the camera, club, and shot the same when comparing setups, and judge any adjustment by the contact that follows rather than by how tidy the lines look.
Understanding this position.
For a stock mid-iron, Address brings together the ball position, face aim, stance, and distance from the ball. Those choices influence what the swing has to do next. A useful setup is comfortable to repeat and gives the club room to move.
Choose a frame just before the takeaway, after any waggle or settling motion. Face-on shows the ball within the stance and the handle relative to it. Down-the-line adds the distance to the ball and the body's forward bend. A tilted or poorly positioned camera can make a comfortable setup look very different.
How to read the position.
Address is a reference for later movement, not a shape to hold until impact. The pelvis and chest will turn, the handle can rise, and the arms will change their relationship to the body.
Use the same club and intended shot when comparing setups. A driver, a partial wedge, and a stock mid-iron need not share one ball position or stance width. Even within the same shot, body proportions and comfort matter more than copying a photograph.
Read each camera view.
Face-on
Notice the ball within the stance and the handle relative to the clubhead. With a stock mid-iron, a modest forward handle is common; a large press is not required.
What this view can show.
- Hands and club
- Notice the ball within the stance and the handle relative to the clubhead. With a stock mid-iron, a modest forward handle is common; a large press is not required.
- Wrist and clubface
- Look at how the grip and visible face are arranged together. A distant view rarely reveals every finger or the exact face aim; use a close setup view when needed.
- Shaft orientation
- The shaft may appear near vertical or slightly forward. Camera position changes that picture, so establish a square face-on view before comparing lean.
- Pelvis and space
- Use the pelvis position between the feet as a starting reference. It will move during the swing; this frame does not define a boundary it must never cross.
- Chest and shoulders
- The shoulders need not appear perfectly level. The lower hand on the grip can contribute to some tilt, and the intended shot can change the setup.
- Body rotation
- Observe how the chest and pelvis are aimed relative to the chosen line. Foot alignment alone does not prove that every body segment points the same way.
- Feet and balance
- Check whether the stance appears settled and comfortable. Both feet touching the ground does not establish equal pressure or reveal the golfer’s internal sense of balance.
Video shows foot movement and balance, not pressure distribution or ground-reaction force.
Down-the-line
Look at the room between the hands, body, and ball. The club should be comfortably reachable rather than requiring a strained stretch or a crowded hold.
What this view can show.
- Hands and club
- Look at the room between the hands, body, and ball. The club should be comfortably reachable rather than requiring a strained stretch or a crowded hold.
- Wrist and clubface
- The clubface is viewed obliquely here. Its exact aim toward a distant target is difficult to establish; physical alignment references are more reliable.
- Shaft orientation
- Use the address shaft as one visual reference for the club. The impact shaft is not required to return to precisely this line.
- Pelvis and space
- Note the back of the pelvis and the space toward the ball. That gives a reference for later delivery without demanding a motionless pelvis.
- Chest and shoulders
- Look for comfortable forward bend rather than a perfectly straight back. Natural spinal curves and individual proportions make a single ideal silhouette unhelpful.
- Body rotation
- The chest and pelvis form the starting arrangement for the turn. An apparent mismatch should be checked against camera placement and intended alignment.
- Feet and balance
- Observe stance width and any obvious reaching or instability. This angle cannot tell how much force is being applied through the toes, heels, or either foot.
Video shows foot movement and balance, not pressure distribution or ground-reaction force.
After reading the still, watch the first movement away from the ball. A setup is useful when it leads into a comfortable swing and can be repeated after stepping away. Do not award it a pass solely because the lines look tidy.
If changing one setup element, compare several ordinary attempts and their contact. Keep the target, club, and camera fixed so the effect of the adjustment is easier to interpret.
Watch these clips.
Use these demonstrations to put the still into motion. Each video opens at the selected starting point and continues playing; the note below explains its relevance to this position.
The posture examples provide setup vocabulary. Judge the starting shape by comfort and its ability to support the swing, not a rigid visual ideal.
The setup discussion connects feet, ball, and face. These references help establish what the following swing was intended to do.